DCDial CoPilot: Contacts
This guide explains how to access, organize, search, and manage contact records using the DCDial Chrome extension.

Yuliia
Last Update 9 days ago
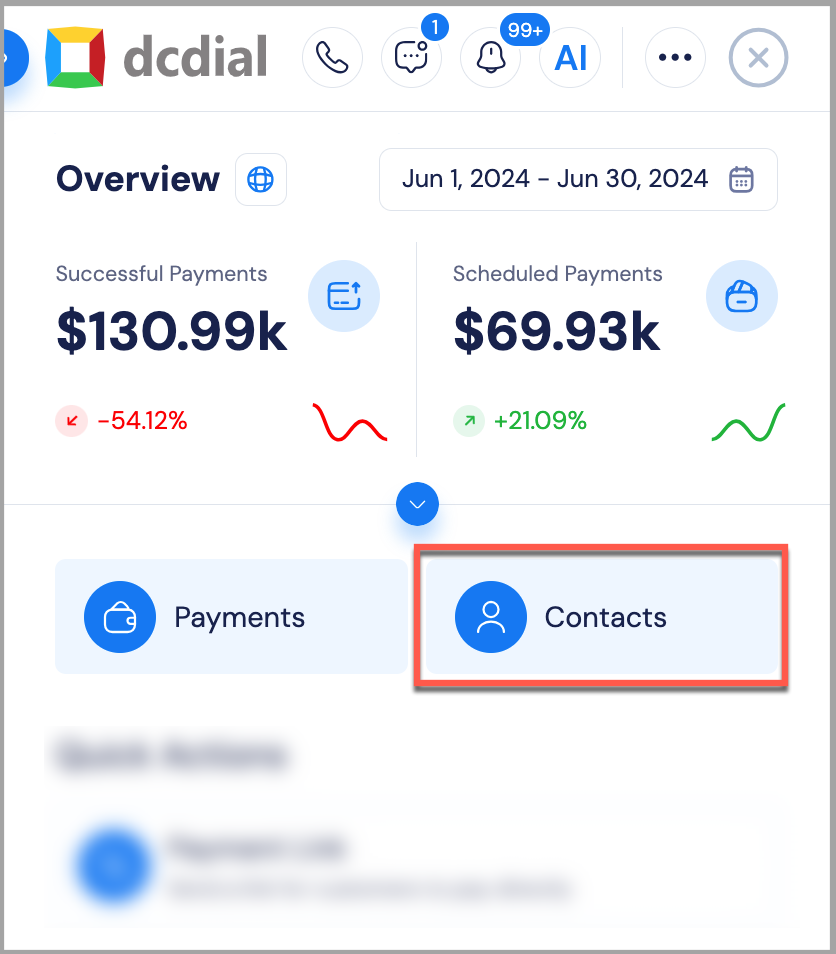
To access the Contacts tab, open the DCDial extension and click on the 'Contacts' icon located on the dashboard.
Viewing Modes
DCDial offers three different contact views. You can switch views by clicking the corresponding icons above the search bar.
- Company Contacts: Displays all contacts saved in the DCDial account. This is the default view and typically accessible by admins or users with broader permissions.
Team Contacts: Shows only contacts that are assigned to users within your specific team. This view helps teams focus on their shared contacts.
My Contacts: Filters the list to show only those contacts where you are listed as the contact owner.

Searching & Filtering Contacts
To quickly find someone, use the search bar to look up a contact by name, account ID, phone number, or email.

Alternatively, you can apply filters to refine your results:
Status – Filter by engagement stage (e.g. New account, In progress)
Contacted – Filter by date of last interaction (call, SMS, or email)
Payment – Filter by last payment date

Creating and Favoriting Contacts
Two handy features help you manage contacts efficiently:
- Add New Contact
Click the blue "+" icon in the top-right corner of the screen to open the new contact form. Enter relevant information and save the record. - Add to Favorites
Click the ⭐ icon next to any contact to mark them as a favorite. Favorited contacts are easier to access in the future directly from the 'Favorites' tab.

Managing Individual Contacts
Clicking on a contact’s name from the list opens their Contact Details panel. This area is organized into tabs and interactive features designed to give you full control over each contact’s data and history.

1. Info tab
The Info tab displays all essential data about the contact:
- About this contact: Displays basic information such as the contact's full name, account ID, balance, and any other identifiers.
- Email and Phone number: Lists all known email addresses and phone numbers associated with the contact.
- Social Media: Displays connected social media accounts (LinkedIn, Instagram, etc.) if available.
- Address: Shows the contact's physical or billing address.
- Company: Shows the company the contact is associated with. Includes: company name, website link, and company phone number. This section helps you quickly understand the organization behind the contact.
- Attachments: Lets you add and manage any files tied to the contact—such as agreements, scans, or internal documents.
- List Membership: Indicates which campaign lists the contact is a part of, useful for marketing or outreach efforts.
Shows a full history of your interactions with this contact, including calls (inbound and outbound, text messages, emails, notes or status changes.
Add or review internal notes for this contact. Notes are timestamped, helping teams keep track of context, customer feedback, or special handling instructions.
Gives a detailed view of the contact’s financial transactions with your company:
- Total Spend – Lifetime amount paid by the contact
- Transactions – A record of individual transactions made by the contact.
- Plans & Subscriptions – Details regarding the contact’s subscribed services or plans.
- Invoices – Provides access to past and current invoices.
- Payment Methods – Lists all payment methods saved for this contact.
5. Tasks
Displays all tasks linked to this contact, including open and completed items. You can filter tasks by type, priority level, or source—such as whether it was created manually, by the system, or through a mention.Additional features
1. Quick Actions: Located directly beneath the contact’s name and photo, this set of icons lets you initiate key actions instantly:
- SMS: Send text messages directly.
- Email: Compose and send emails directly.
- Call: Initiate a call with a simple click.
- Payment: Process payments on behalf of the contact.
- Create task: Add a new task for this contact.
2. Status: Update or review the contact’s current interaction status for tracking engagement levels and the outcomes of communication efforts.
3. 3-dot Menu Actions:
- Block contact: Prevents the contact from receiving or initiating communication. Use this for spam or harassment cases.
- Add to DNC: Adds the contact to the Do Not Contact list to comply with telemarketing rules or internal restrictions.
- Delete contact: Permanently removes the contact from your system.
