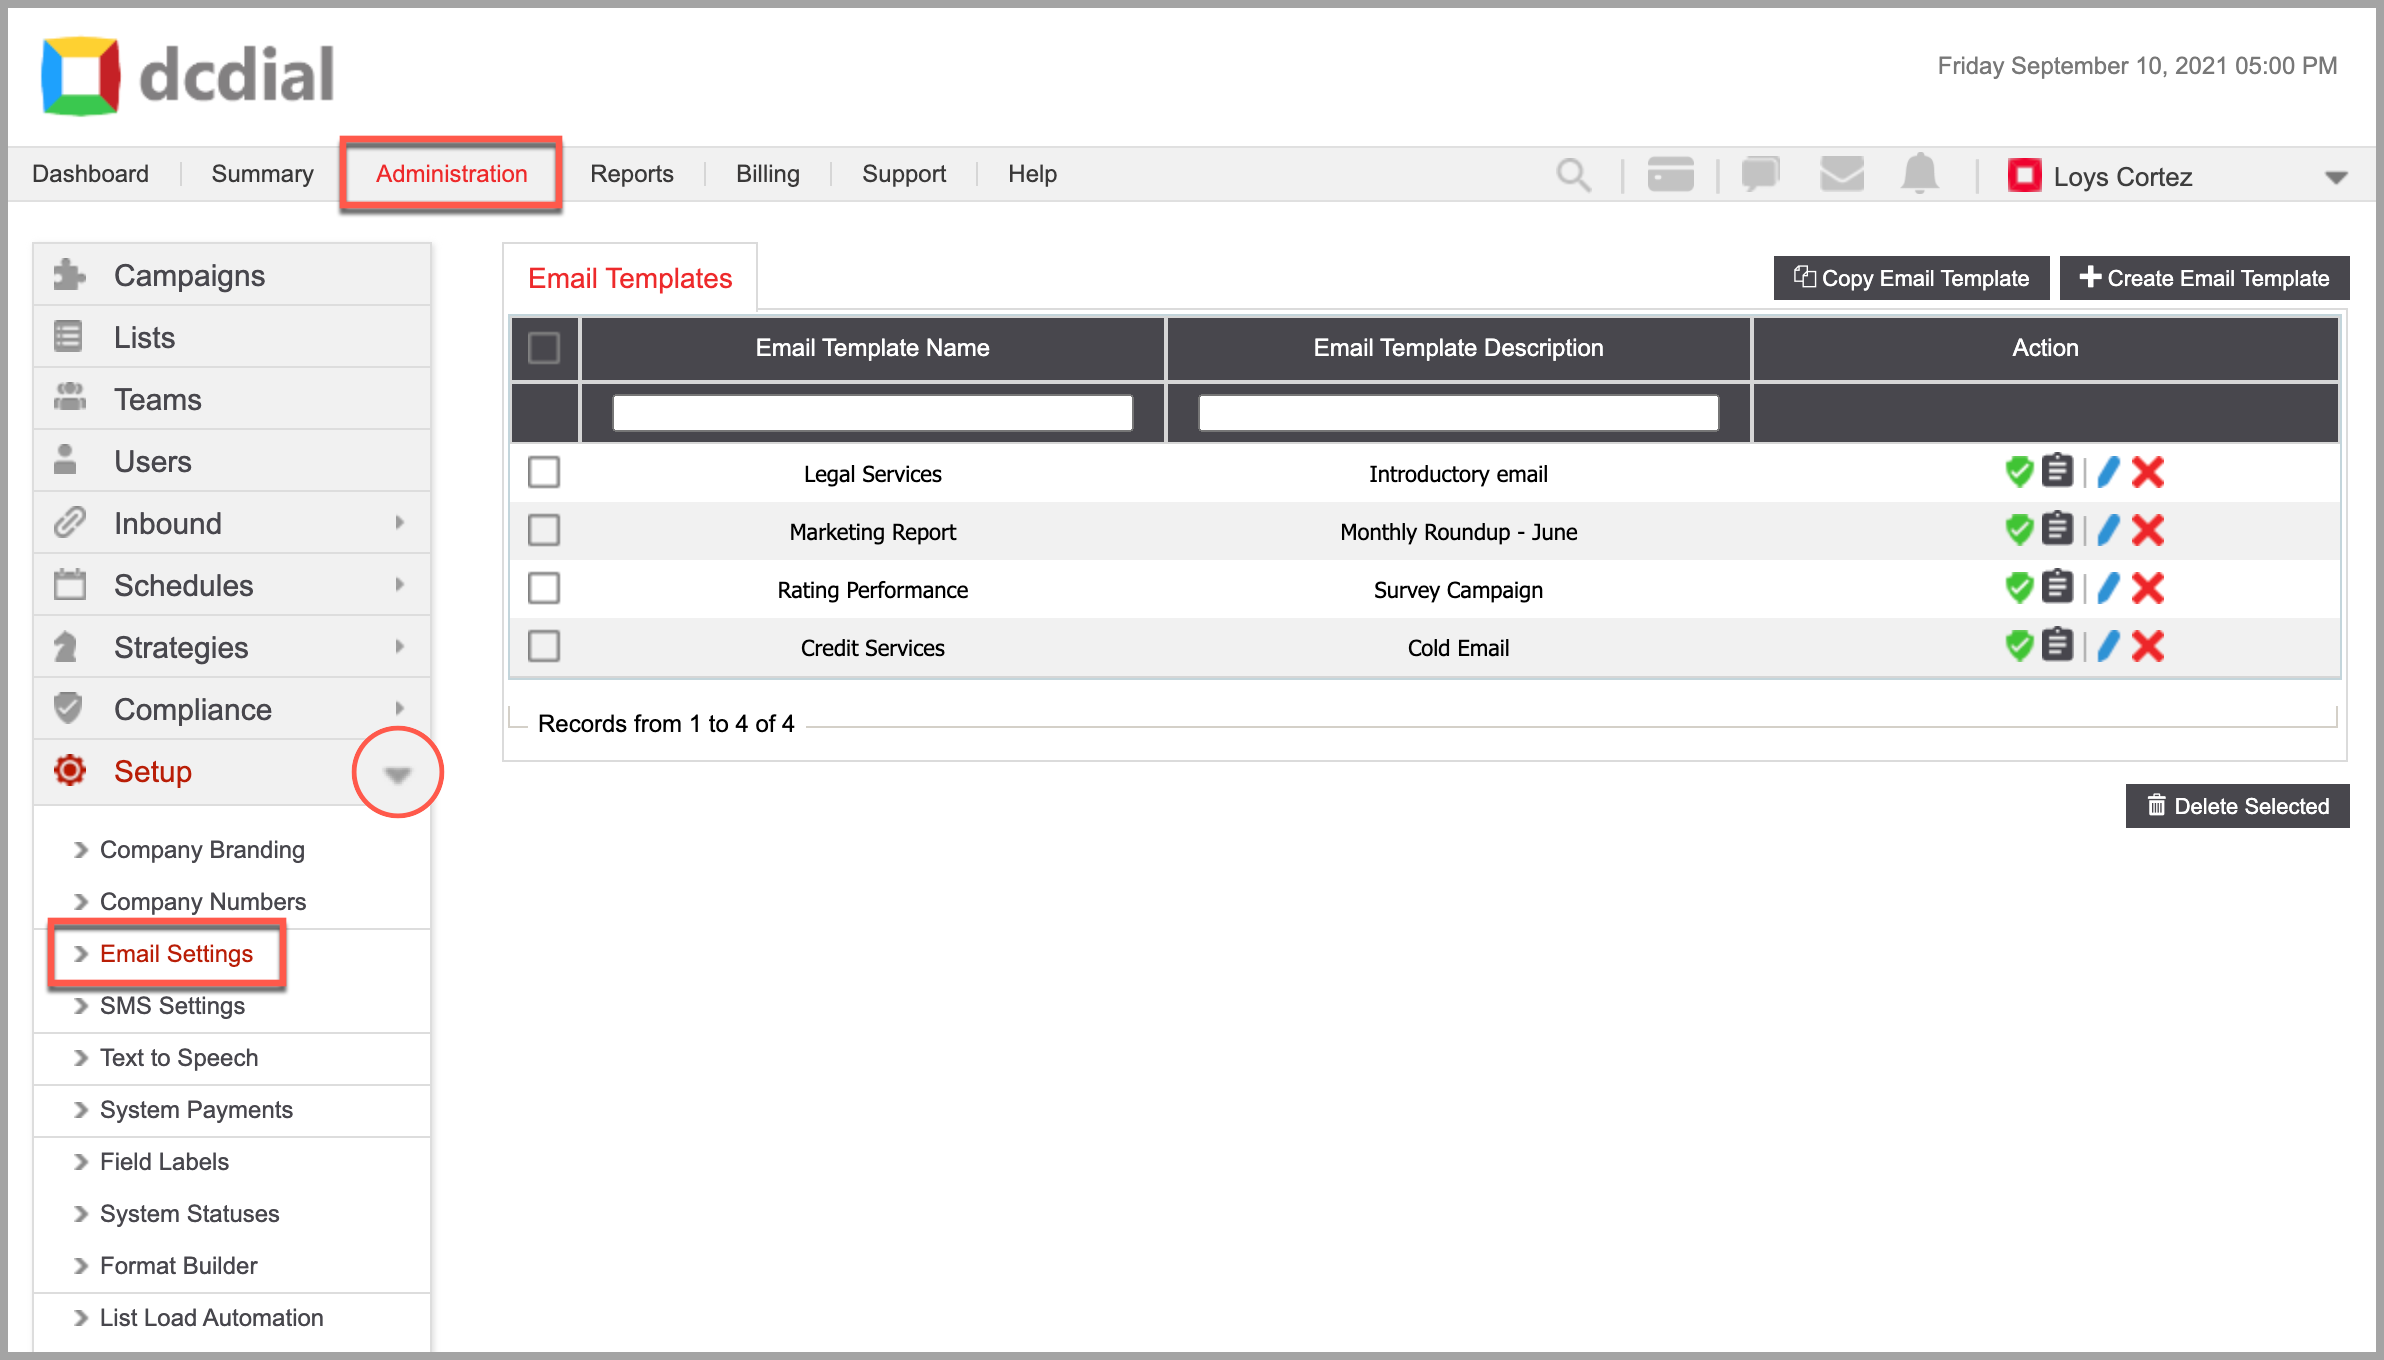
Email Settings
Under Email Settings, you can save repetitive email content as an email template.
Email communication is an effective tool for payment collection as you can easily embed payment links, payment plan offers, and more into your template. Before sending a template, you can personalize and tailor the content to your recipients by inserting dynamic fields from the 'Markers' drop-down menu. Users can send individual templates directly from the internal portal or in bulk when running outbound email campaigns.
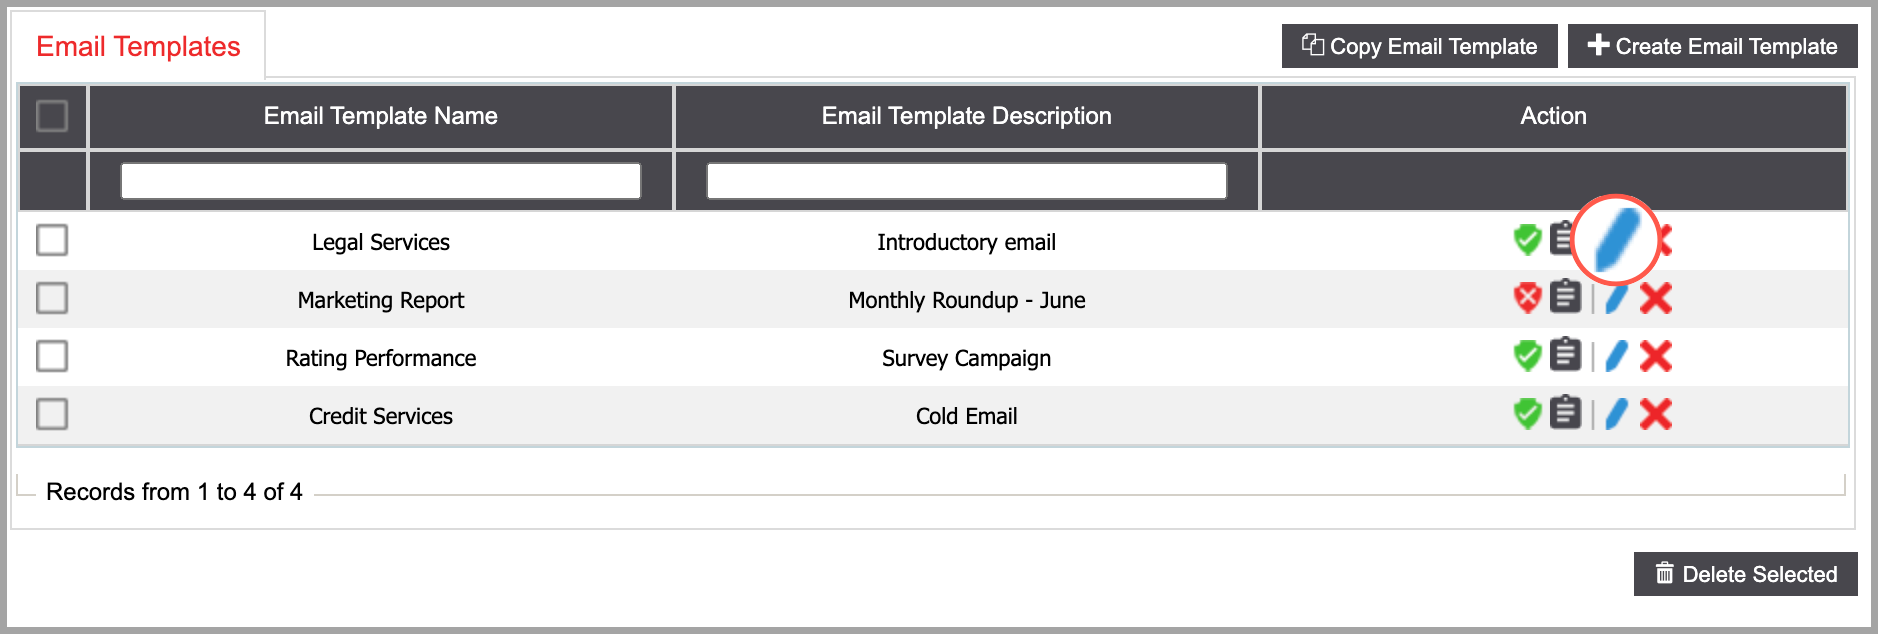
- Actions
- Active: This shows that the email template is active. Click on the icon to deactivate the template.
- Inactive: This shows that the email template is inactive. Click on the icon to activate the template.
- View Activity Log: Click the icon to view a summary of events. Learn More About the Activity Log
- Modify: Click the icon to modify the email template. Learn More About Modifying Email Templates
- Delete: Click the icon to delete a template. A confirmation screen will appear to confirm the deletion.
CREATE EMAIL TEMPLATE
STEP 1. Click on the ‘Create Email Template’ button on the top right to create a new template. Complete the required fields in the pop-up window and click ‘Create’ to proceed. You will see a confirmation once the template has been created successfully and you will be redirected to the template details page to complete the setup process.
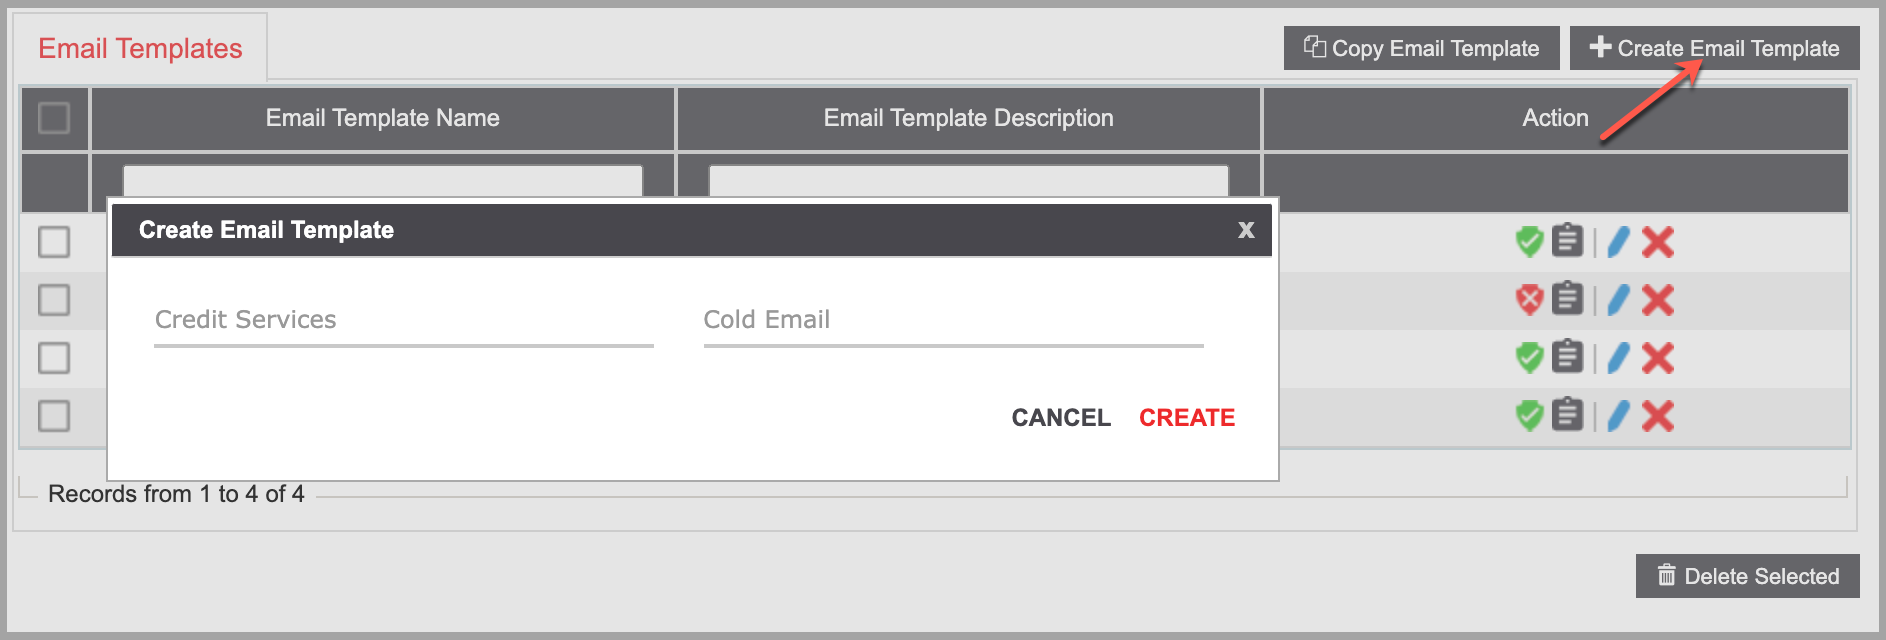
- Email Template Name
Enter a unique name.
- Email Template Description
Enter a brief description.
STEP 2. Configure the settings on the template details page. When done, click on ‘Submit’ to save your changes.
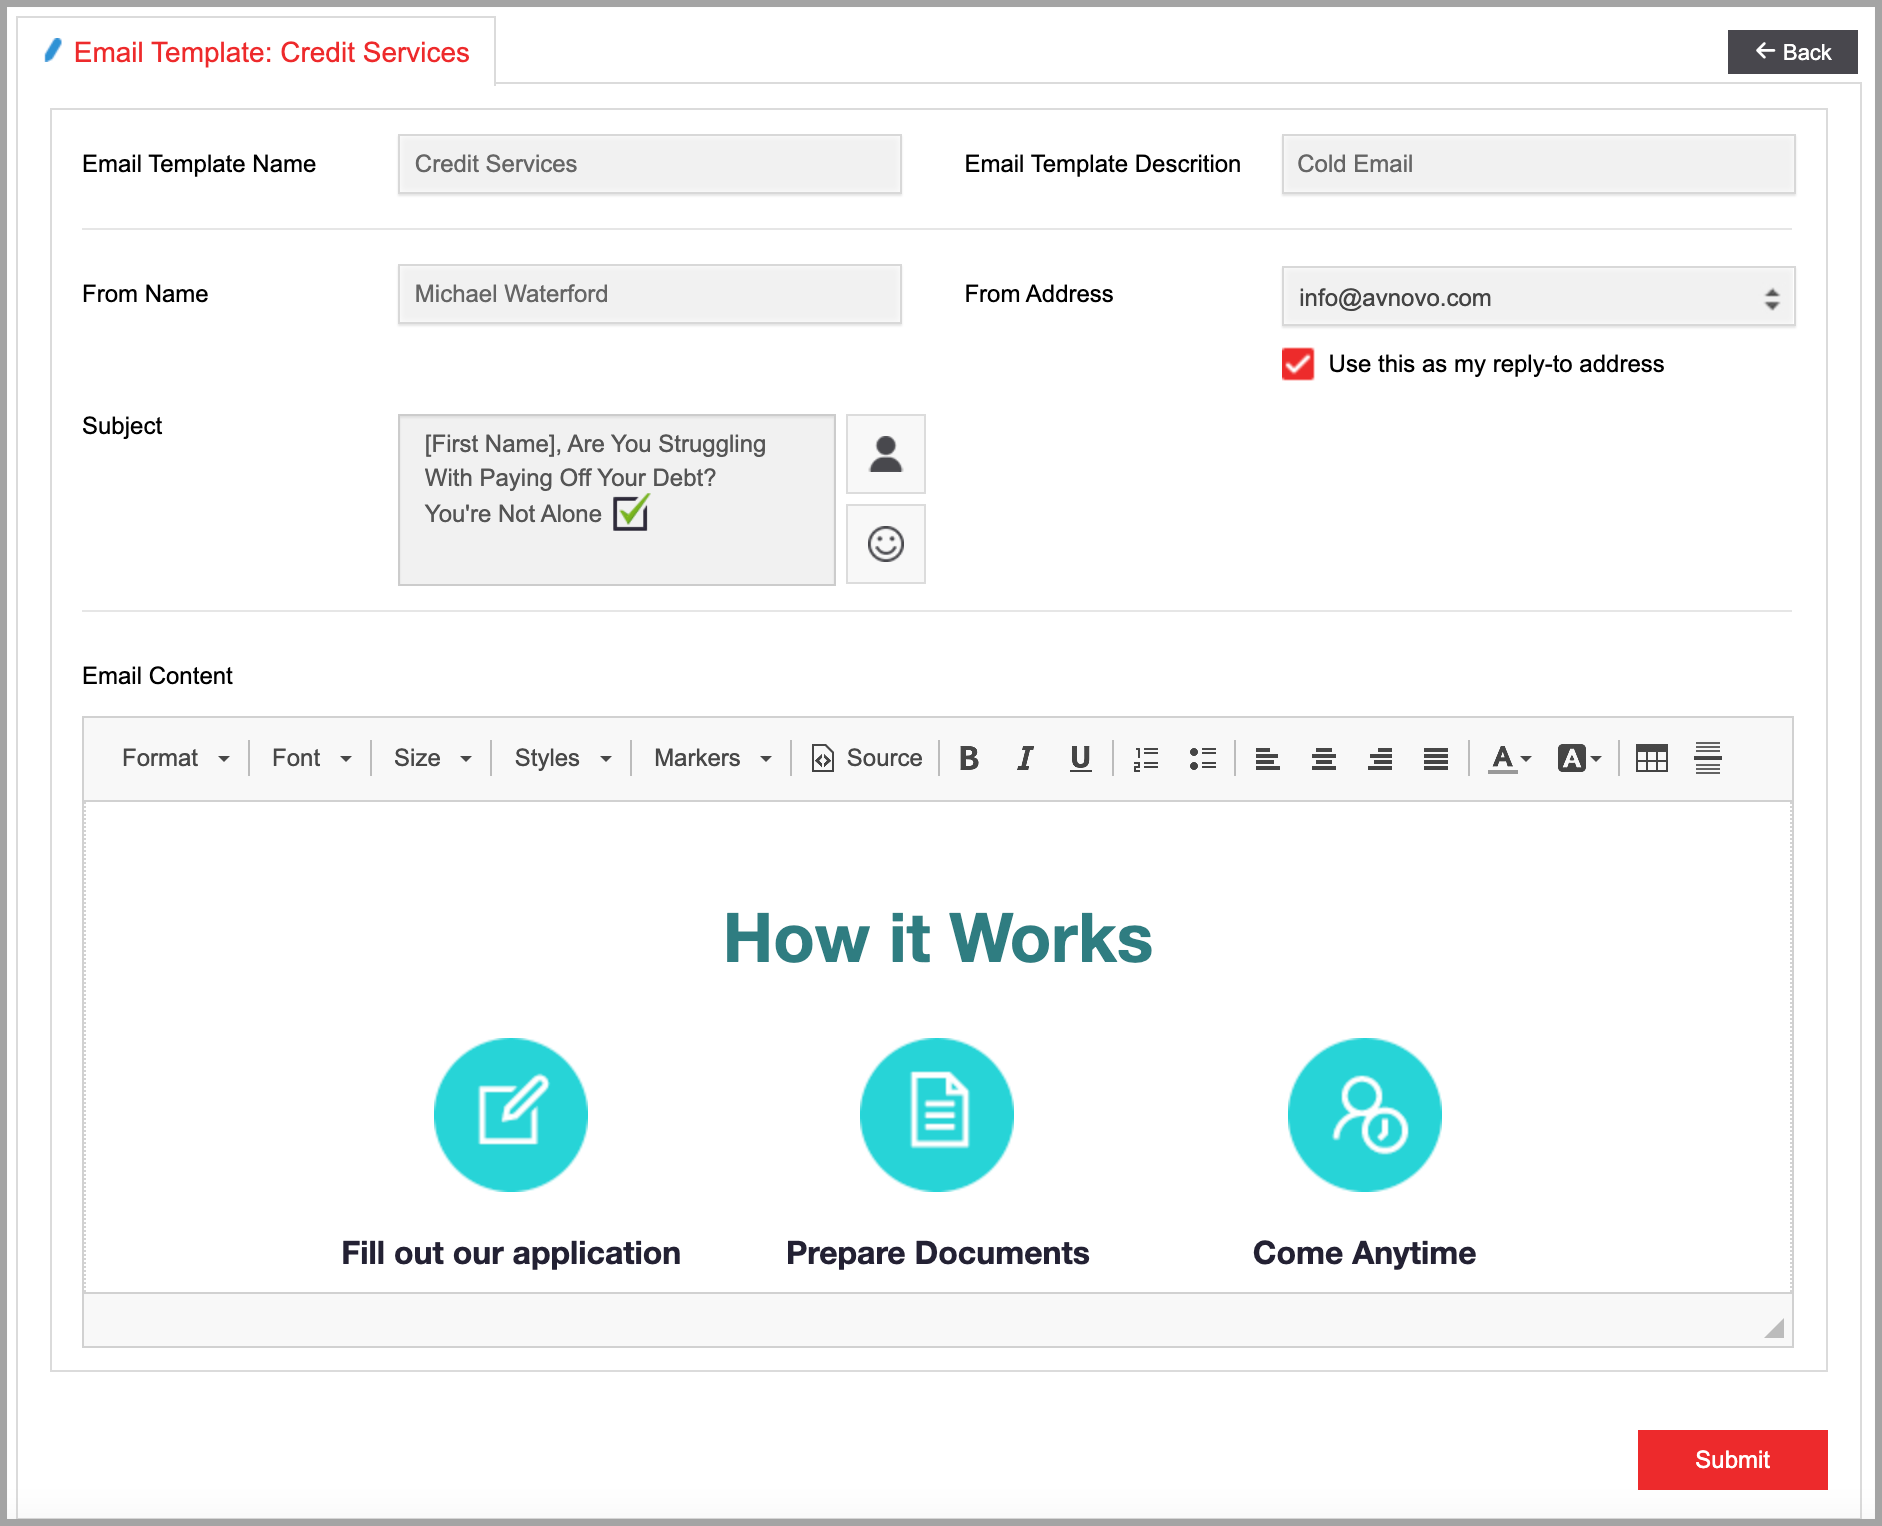
- From Name
When you send an email, the 'From' name (also known as the Sender name) tells your recipients who sent them the message.
- From Address
The 'From Address' is the email address that displays in your email header. If applicable, select the option to use this email address as your reply-to address that will be used when recipients respond to your mailing.
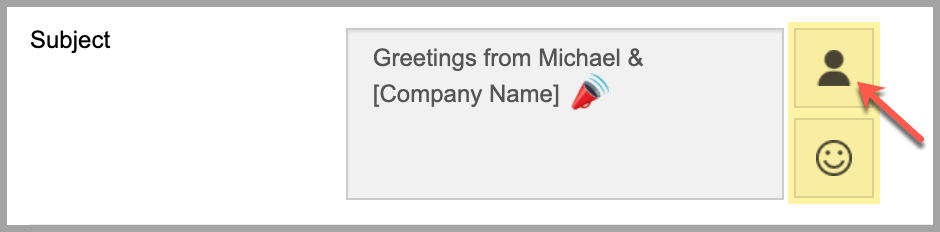
- Subject
The subject line of an email that your customers will see when they receive your email. You can personalize the subject line by adding dynamic variables or emojis.
- Email Content
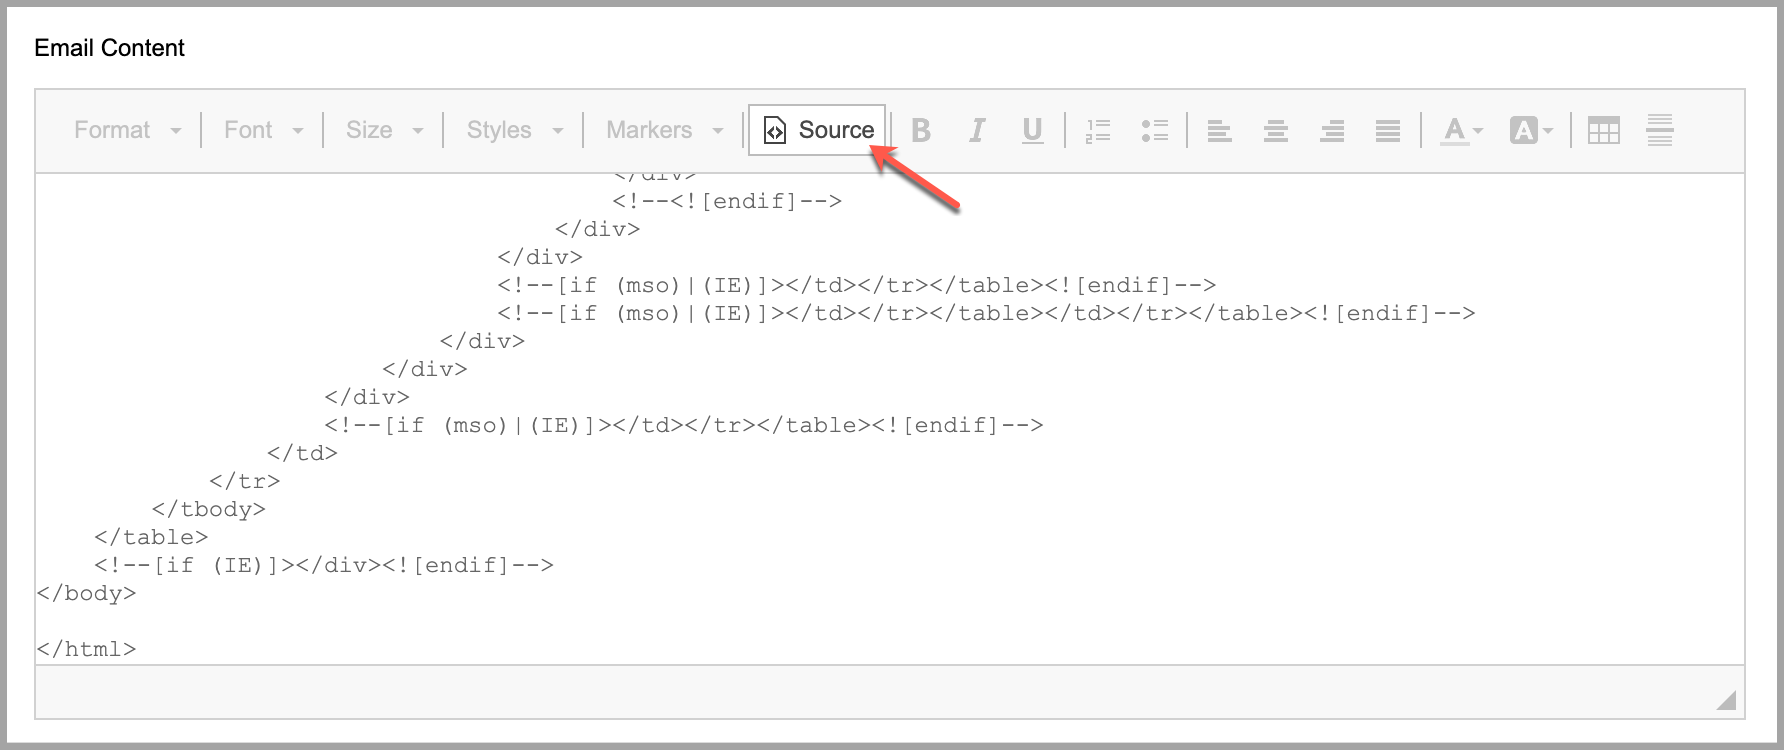
In the Email Content box, you can view and edit the content of the email template. Static content can be added along with dynamic variables to create a personalized template.
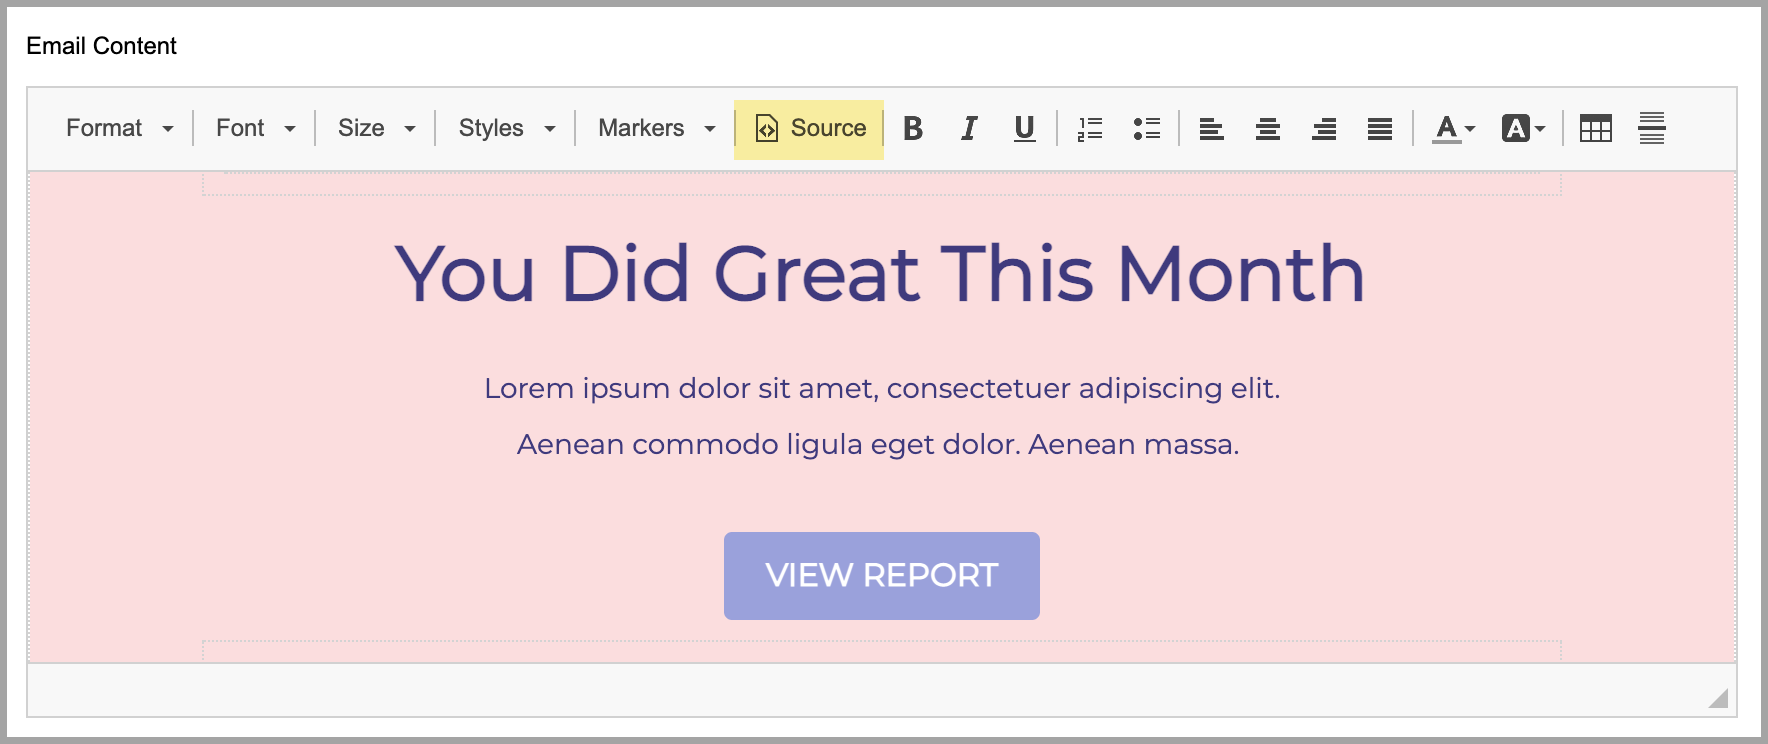
To add an HTML email template that better reflects your company style, use the 'Source' option. Then, insert an HTML file, and click 'Submit'.
Go back to the details page and modify the added template as needed.
COPY EMAIL TEMPLATE
Copying an email template is a quick and easy way to create a similar template, without starting from scratch. The 'Copy Email Template' feature allows you to copy settings from an existing template and then modify it as needed.
STEP 1. Click on the button on the top right to copy a template. Complete the required fields in the pop-up window and click 'Create' to proceed. You will see a confirmation once the Email Template has been copied successfully and you will be redirected to the template details page to complete the setup process.
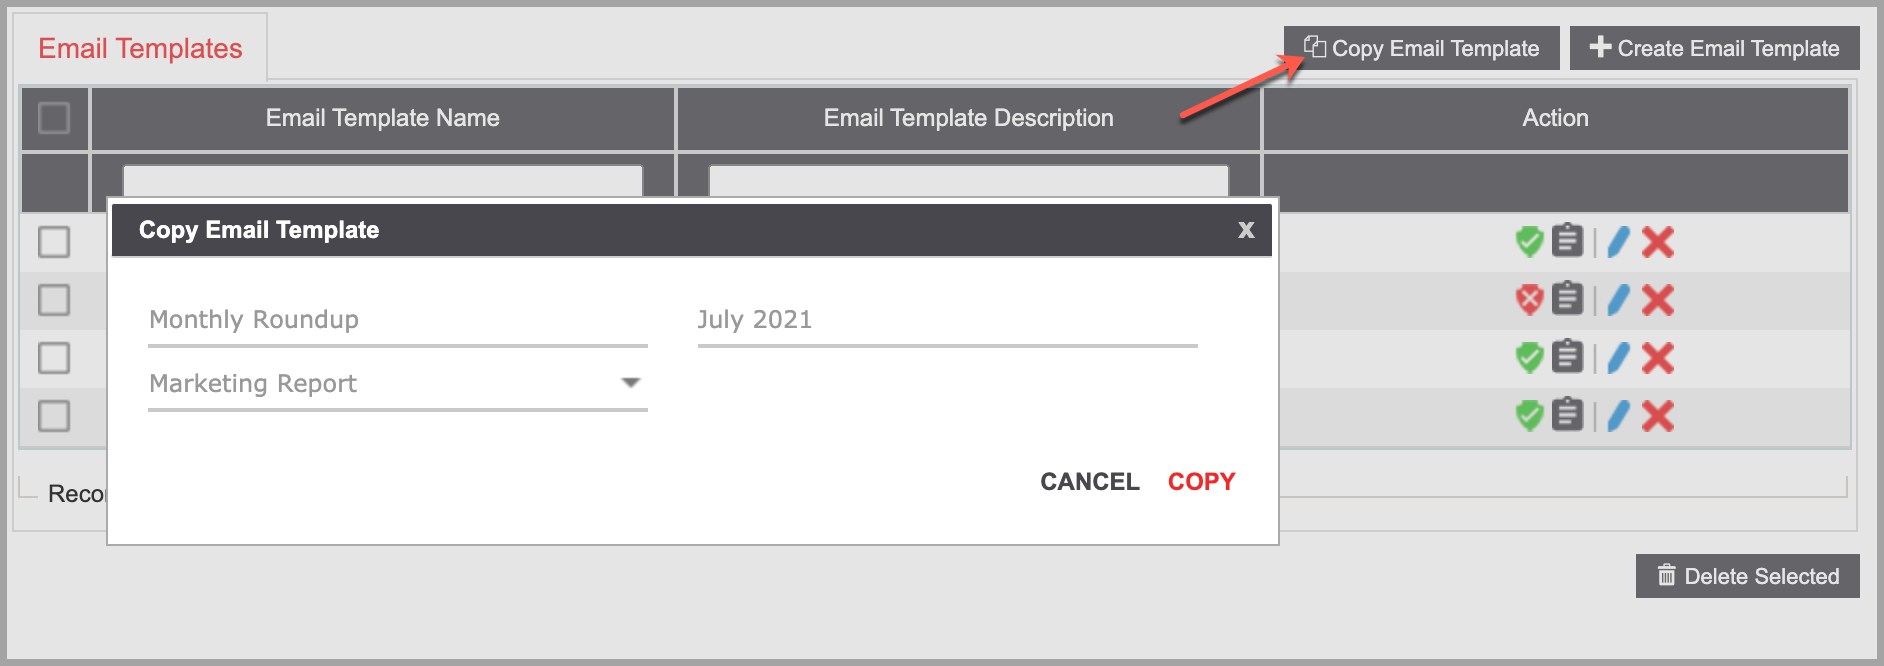
- Email Template Name
- Email Template Description
- Select Source Template
STEP 2. Configure the Template settings on the template details page. When done, click on ‘Submit’ to save your changes.
MODIFY EMAIL TEMPLATE
Click on the icon to modify the Email Template.