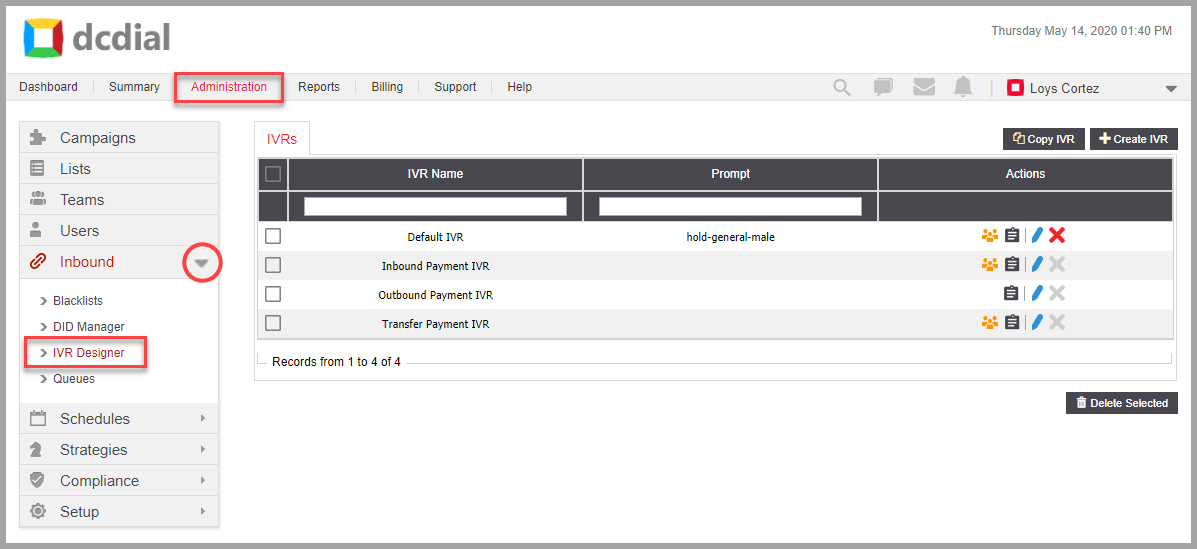
IVR Designer
The IVR (Interactive Voice Response) is an automated telephone system technology that interacts with callers, gathers required information, and routes calls automatically without a live operator.
Within these interactions, your clients can communicate by using the touch-tone keypad selection.
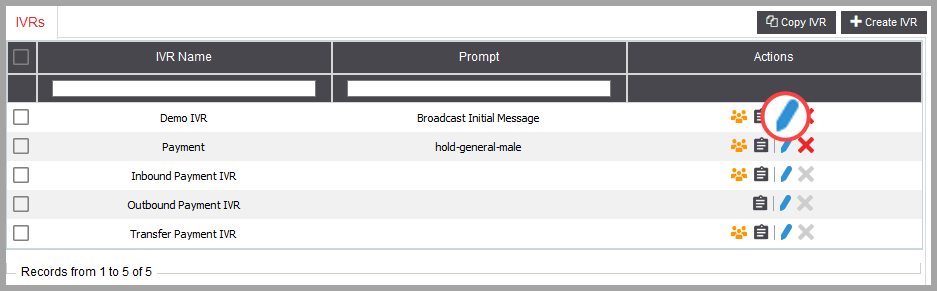
- Prompt
- Actions
- Associations: Hover over the icon to view the Campaigns, IVRs, and DIDs that are associated with the IVR.
- View Activity Log: Click on the icon to view a summary of events. Learn More About the Activity Log
- Modify IVR: Click the icon to modify the entry. Learn More About Modifying IVRs
- Delete IVR: Click the icon to delete an entry. A confirmation screen will appear to confirm the deletion.
CREATE IVR
STEP 1. To create an IVR, click on the 'Create IVR' button. Complete the required fields in the pop-up window and click 'Create' to proceed. You will see a confirmation once the IVR has been created successfully and will be redirected to the IVR details page to complete the setup process.
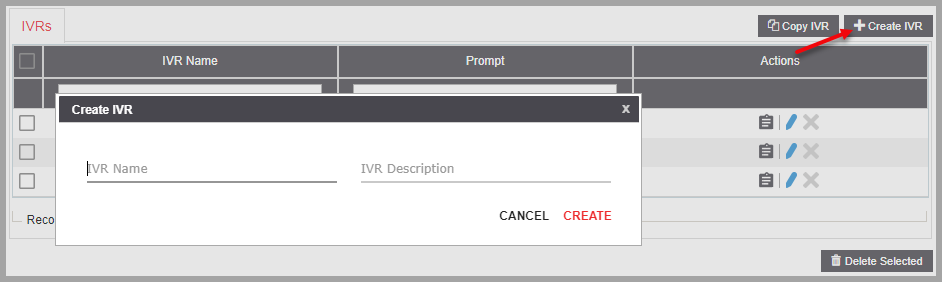
- IVR Name
Enter a unique name.
- IVR Description
Enter a brief description.
STEP 2. Configure the IVR settings on the IVR details page. When done, click on ‘Submit’ to save your changes.
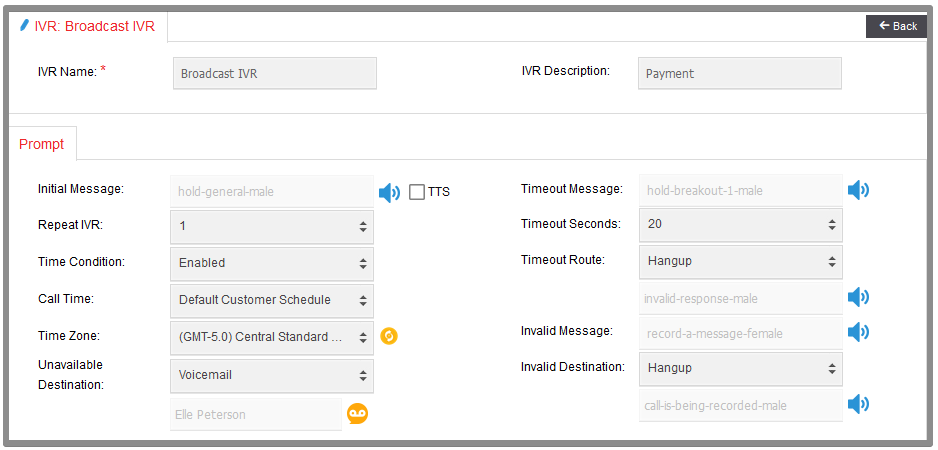
- Initial Message
The initial audio message that the caller will hear when they reach this IVR. Click on the icon to choose an audio file. To assign a TTS (Text-to-Speech) message, check the TTS box and then select a TTS message from the available options.
- Repeat IVR
The number of times the initial audio message will be played if a caller chooses an invalid option or does not select any option at all.
- Time Condition
Allows you to specify when an IVR will be available. If you select 'Disabled', the IVR will be available 24/7.
- Call Time
If the 'Time Condition' is enabled, you can select the 'Call Time' option. Select the contact schedule you want to assign to this IVR.
Please note: The IVR will only be accessible during the day and time range specified in the contact schedule. Calls that do not meet the time condition will be sent to the 'Unavailable Route' defined below.
- Time Zone
Select a time zone that will apply to this IVR.
- Unavailable Destination
If the 'Time Condition' is enabled, you can select the 'Unavailable Destination' option. A caller will be sent to the destination defined here if a call that reached this IVR does not meet the 'Call Time requirement'. There are eight 'Unavailable Destination' options:
- IVR: Calls will be routed to an interactive voice response (IVR) menu.
- External: Calls will be routed to the selected external number.
- Queue: Calls will be routed to the selected queue.
- DID: Calls will be routed to the selected company number.
- Hang Up: Calls will be automatically hung up.
- Extension: Calls will be routed to the selected extension.
- Voicemail: Calls will be routed to a voicemail box where the customer can leave a message. Click on the icon to choose the voicemail box.
- Disabled: Disabled destination means that a call will be dropped.
- Timeout Message
The audio messages that will play if the caller exceeds the 'Timeout Seconds' limit. To choose an audio file, click on the icon and browse a file.
- Timeout Seconds
The time interval after the initial audio message has finished playing and before the 'Timeout Message' starts playing.
- Timeout Route
A caller will be sent to the specified 'Timeout Route' if no option has been selected. This event is triggered after the last IVR attempt. For example, if the IVR is set to repeat 3 times, then a caller will be routed to the 'Timeout Route' after the third attempt if a caller has not selected any option.
- Invalid Message
The message that will be played if a caller selects an invalid option. To choose an audio file, click on the icon and browse a file.
- Invalid Destination
A caller will be sent to the specified 'Invalid Destination' if an invalid option has been selected. This event is triggered after the last IVR attempt. For example, if the IVR is set to repeat 3 times, then a caller will be routed to the 'Invalid Destination' after the third attempt if a caller selected an invalid option.
Events
The 'Events' settings tab indicates which IVR options are enabled and which action is taken for each option. The 'Events' options allow your customers to navigate your contact center and find an appropriate solution quickly, using only their phone’s keypad.
Please Note: The events section of the built-in 'Payment IVRs' (Transfer, Inbound, and Outbound Payment IVR) can not be modified.

You can define a unique action for each digit. Select one or more routes below the digit icons.
- Agent
- IVR
- External
- Queue
- DID
- Hangup
- Voicemail
- Get Payment
- Disabled
Payment details
A payment gateway that will be used for the selected IVR to process payments. Select a gateway from the available options.

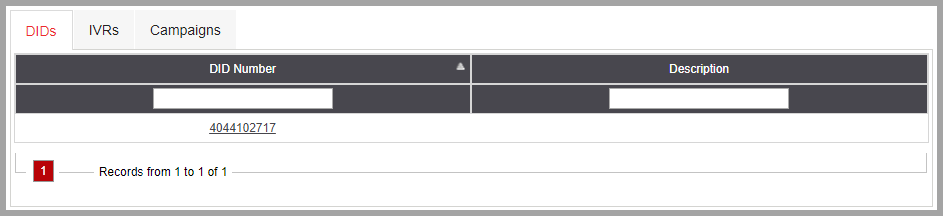
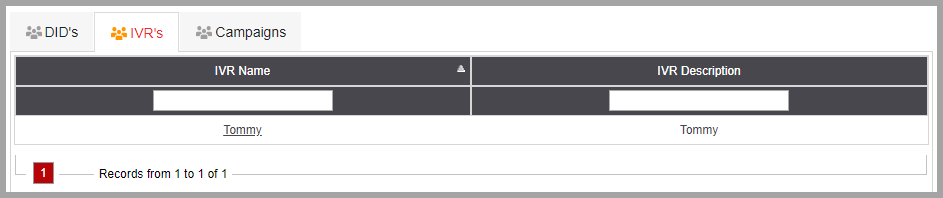
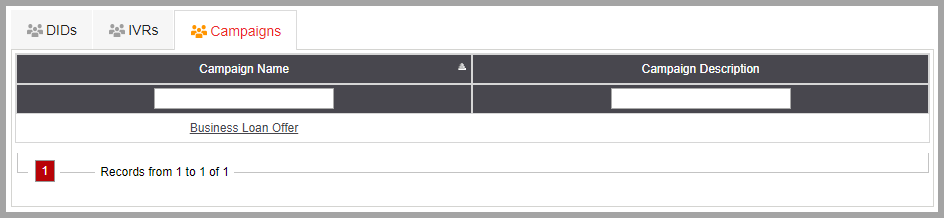
Associations
- DIDs
The DIDs that use the IVR.
- IVRs
The IVRs that use the IVR.
- Campaigns
The Campaigns that use the IVR.
PAYMENT IVR
By default, your DCDial account will come pre-configured with three payment IVR's: Inbound Payment, Outbound Payment, and Transfer Payment. These IVR's are used with your campaigns and company numbers (DIDs) to collect payment via inbound calls, outbound calls using a broadcast campaign, and via agent call transfer using the agent interface.
Inbound Payment IVR: Your customers can call your company number (DID) routed to an inbound payment IVR to make a payment. If DCDial matches the caller ID to an existing account, the customers will hear their outstanding balance. If the system does not recognize the caller ID, the customers will need to enter their account ID to locate their account. See how this process works at https://www.dcdial.com/products/ivr/payment-ivr/.
Outbound Payment IVR: You can use a voice broadcast campaign to call your customer, verify the right party contact, and then prompt them to pay their outstanding balance. Customers will only need to follow the IVR prompts to make a payment. Please see https://www.dcdial.com/products/ivr/payment-ivr/ for more information.
Transfer Payment IVR: This option is available to agents logged into the agent interface. Agents can transfer calls to this IVR to collect payments automatically and retrieve a call when the customer completes payment. Transfer Payment IVR is useful for protecting sensitive customer payment information without exposing it to an agent.
You can adjust the payment IVR settings according to your business needs. Let's look at the example of the Inbound Payment IVR:
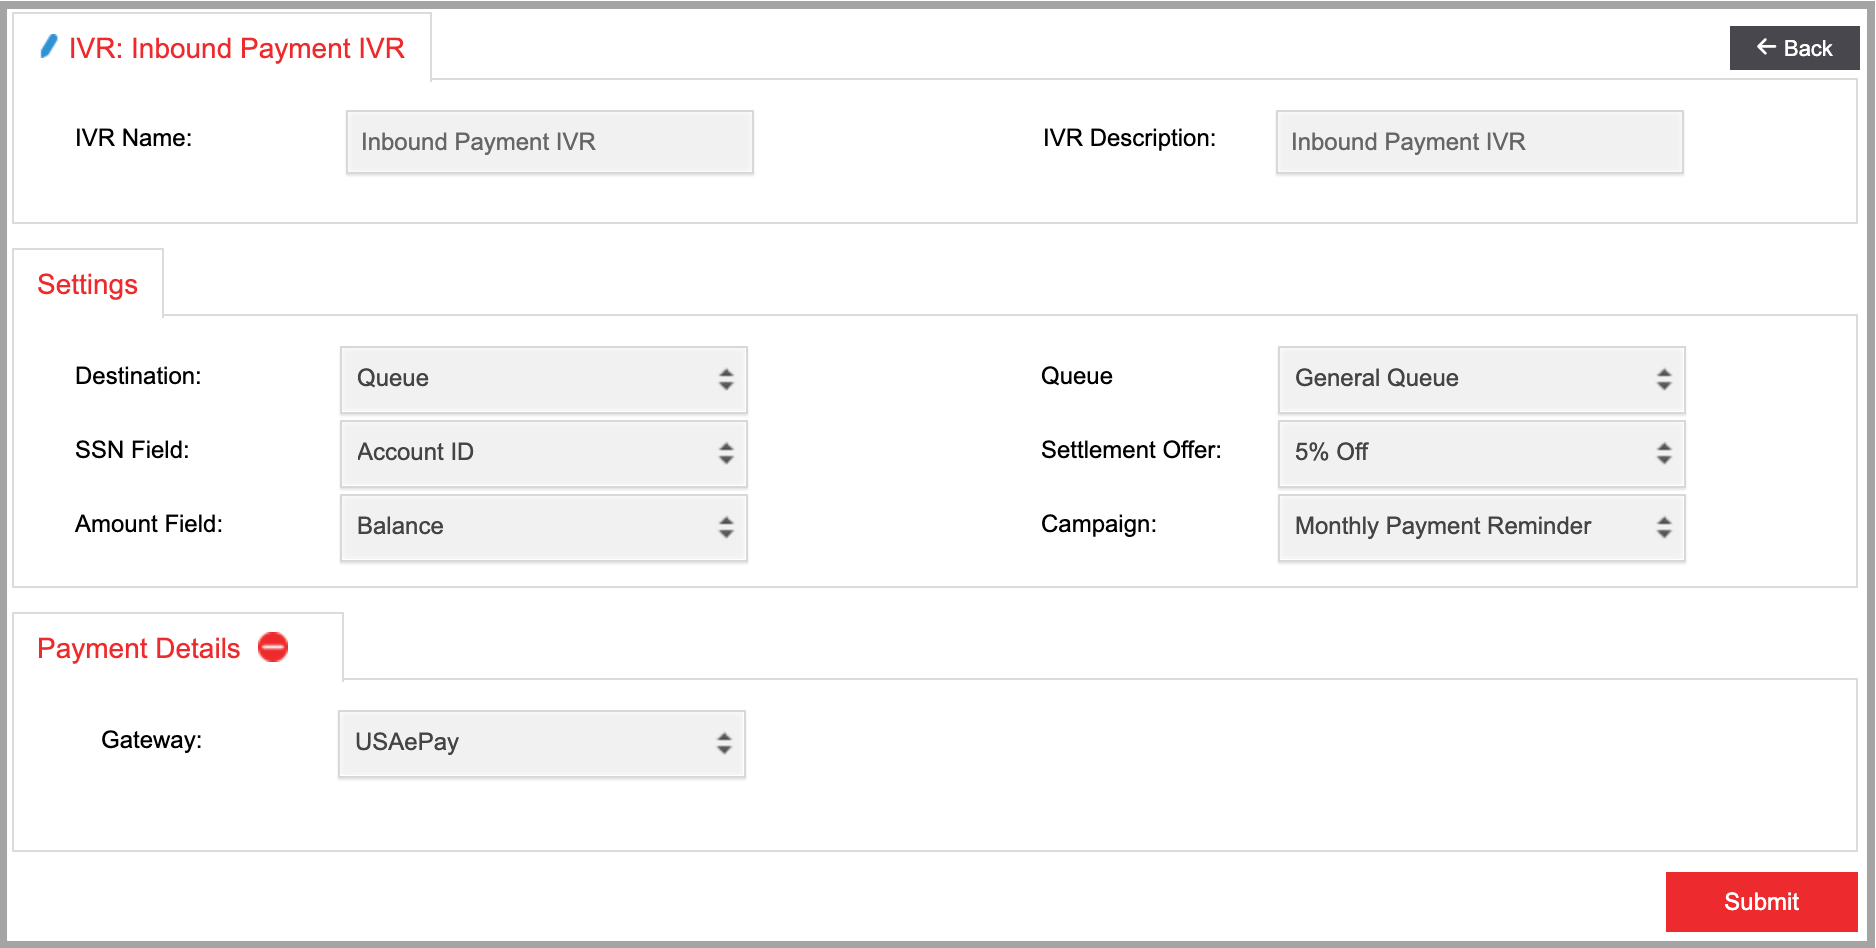
- Destination
The destination where customers are routed to complete payment. There are two possible destinations:
- Queue: A customer will be routed to the selected queue. After selecting a Queue as a destination, specify which queue a customer will be routed.
- External: A customer will be routed to the selected external number. After selecting External as a destination, specify the external number.
- SSN Field
- Amount Field
- Settlement Offer
- Campaign
- Gateway
COPY IVR
Copying an existing IVR is a quick and easy way to create a new IVR. All the settings from the original IVR will be copied to the new IVR and can be modified as needed.
Step 1. Click on the 'Copy IVR' button on the top right to copy an existing IVR. Complete the required fields in the pop-up window and click on 'Create' to proceed. You will see a confirmation once the IVR has been successfully copied and will be redirected to the IVR details page.
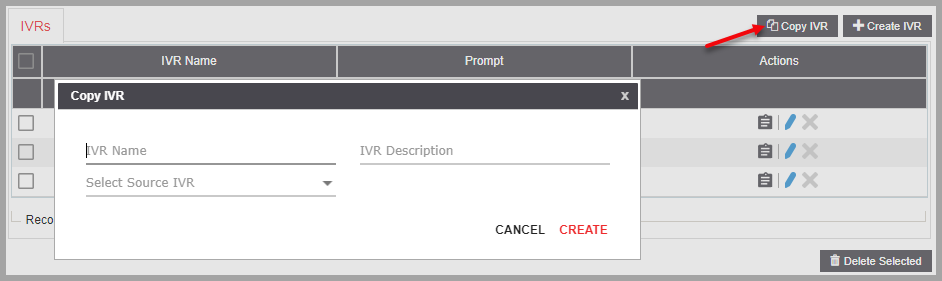
- IVR Name
Enter a unique name.
- IVR Description
Enter a description.
- Select Source IVR
Select the source IVR you would like to copy.
Step 2. Configure the IVR settings on the IVR details page. When done, click on ‘Submit’ to save your changes.
MODIFY IVR
Click on to Modify the IVR.