DCDial CoPilot: Phone Dialer
The Phone Dialer provides seamless access to dial and call customers directly from the extension. It offers detailed call history and allows you to schedule callbacks effortlessly, ensuring effective customer communication.

Mico Hojilla
Last Update منذ عام واحد
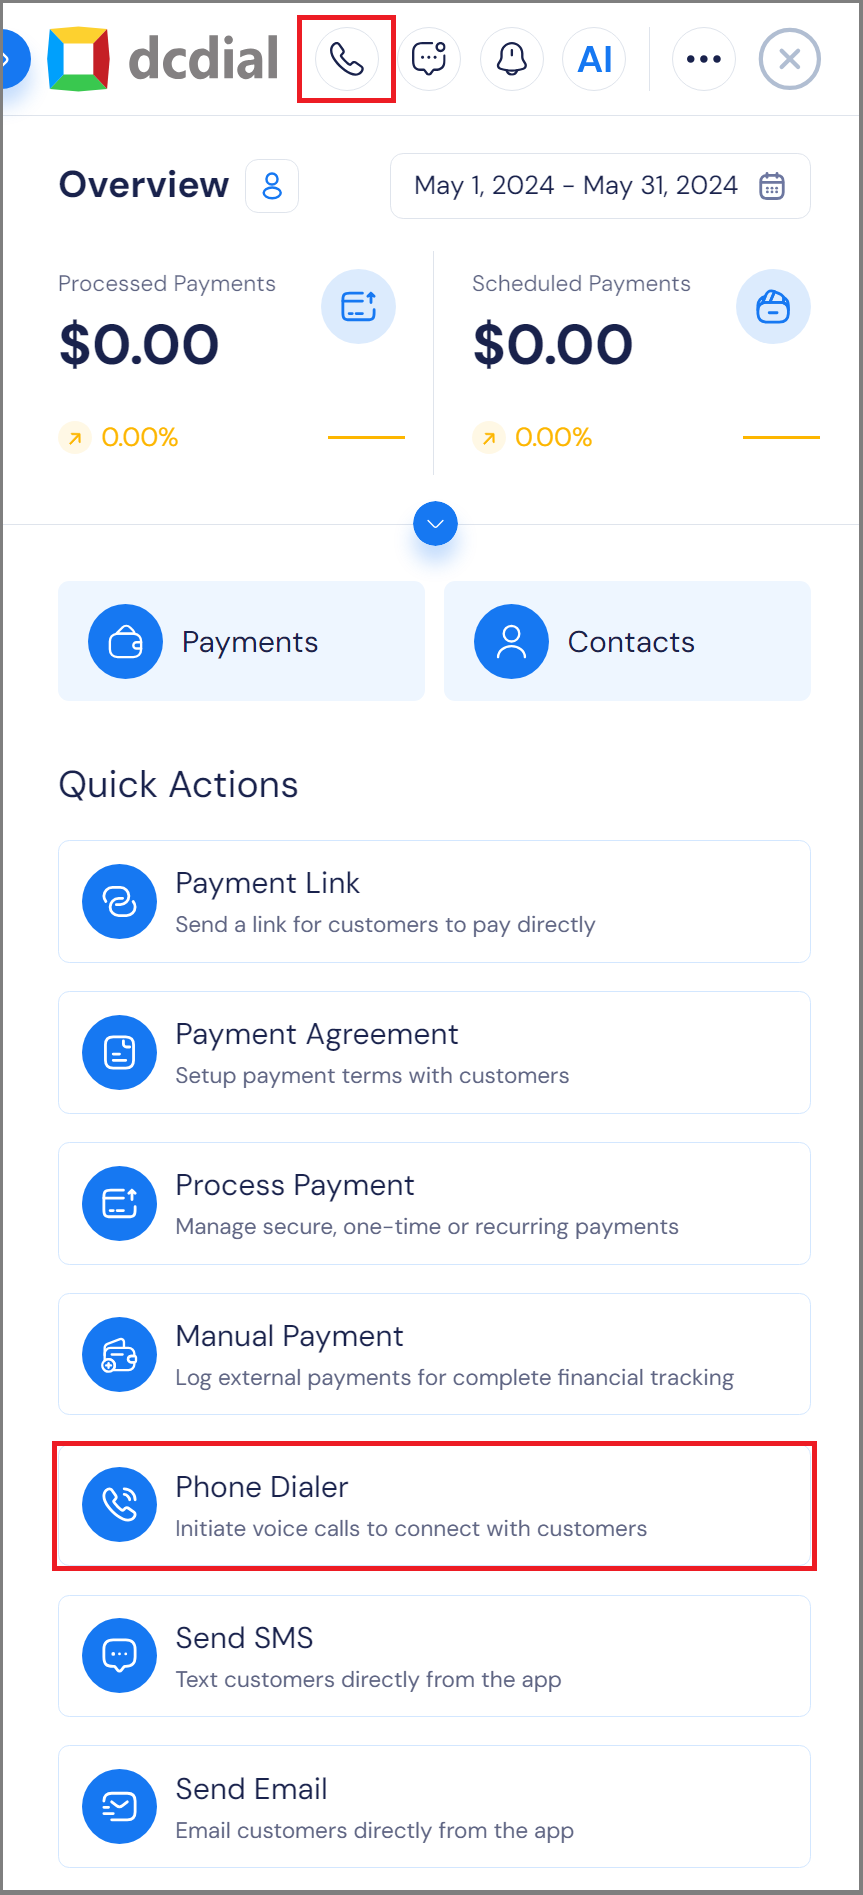
You can access the Phone Dialer from the extension dashboard in two ways: by clicking the phone button on the top menu or by selecting the Phone Dialer option from the Quick Actions menu.
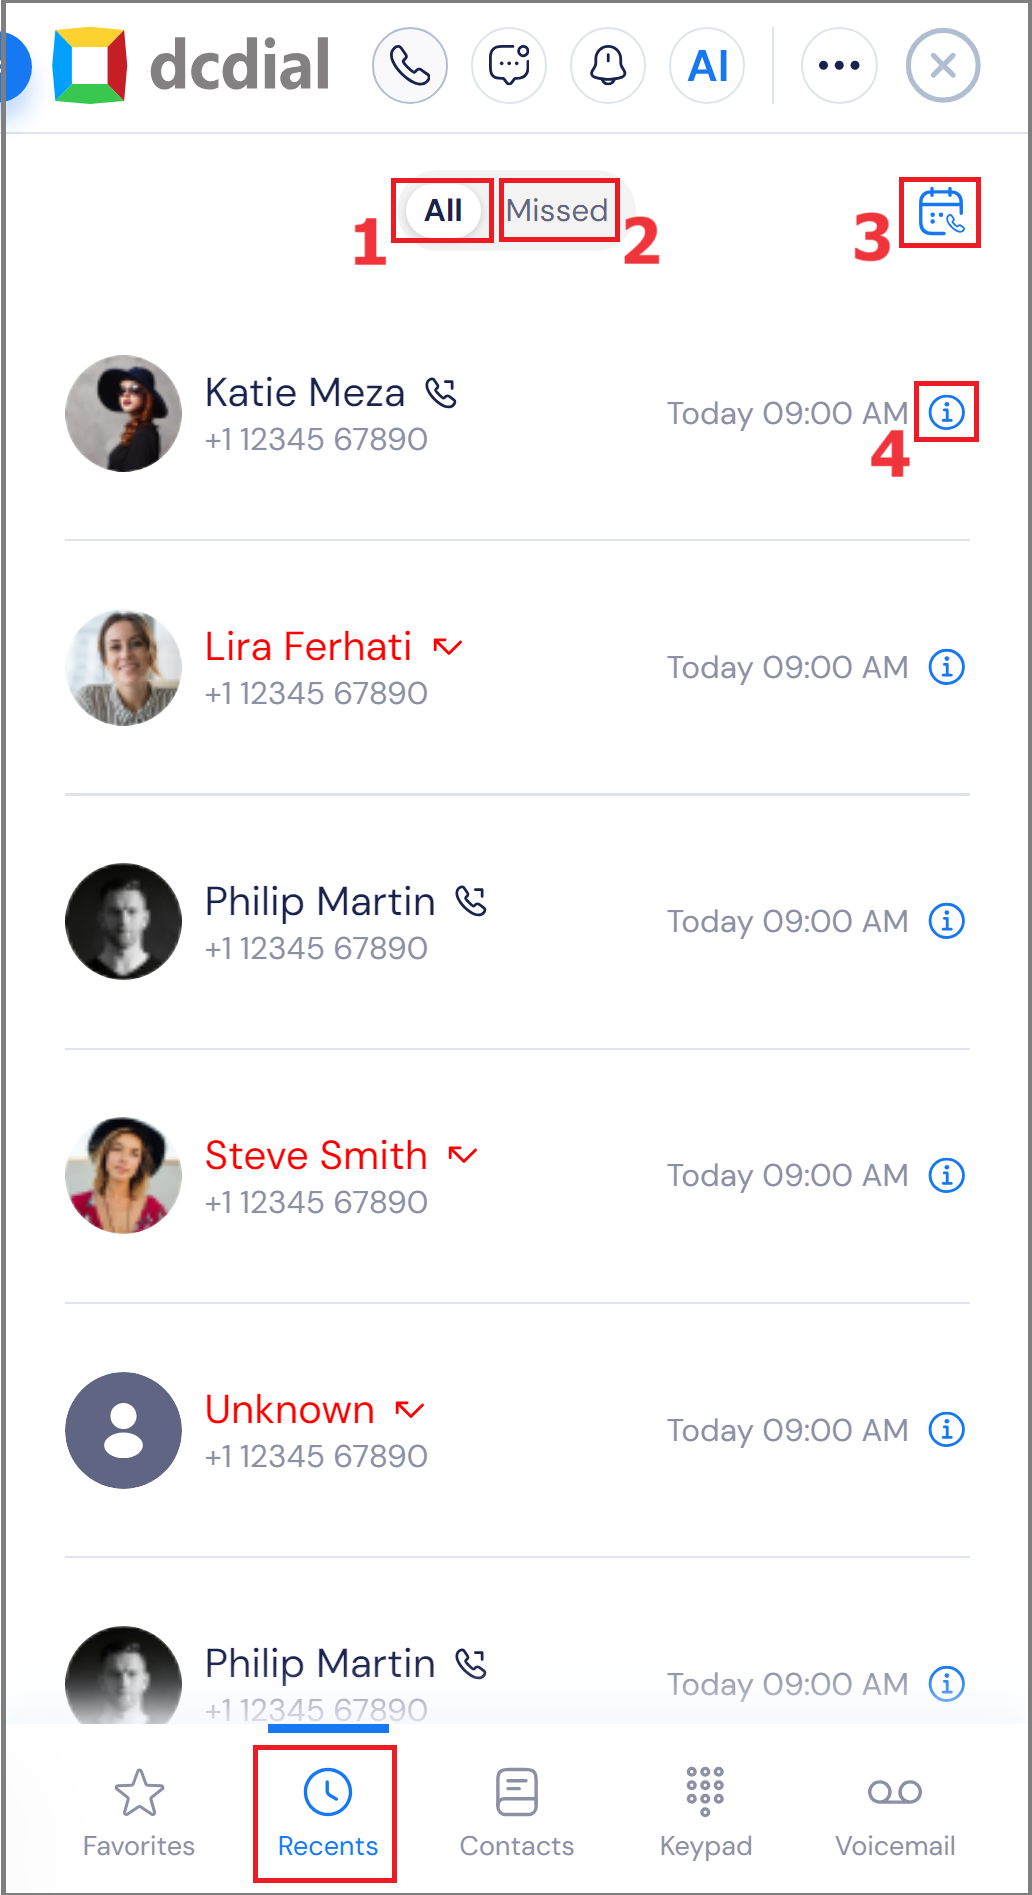
2. Recents: This section displays your recent incoming and outgoing calls. You can view all calls - outbound/inbound by clicking All(1), view the missed calls by clicking the Missed(2) option. Select the calendar icon(3) to view the scheduled callbacks. Click the info icon(4) next to a contact name to view the contact details.
Callback Schedule:
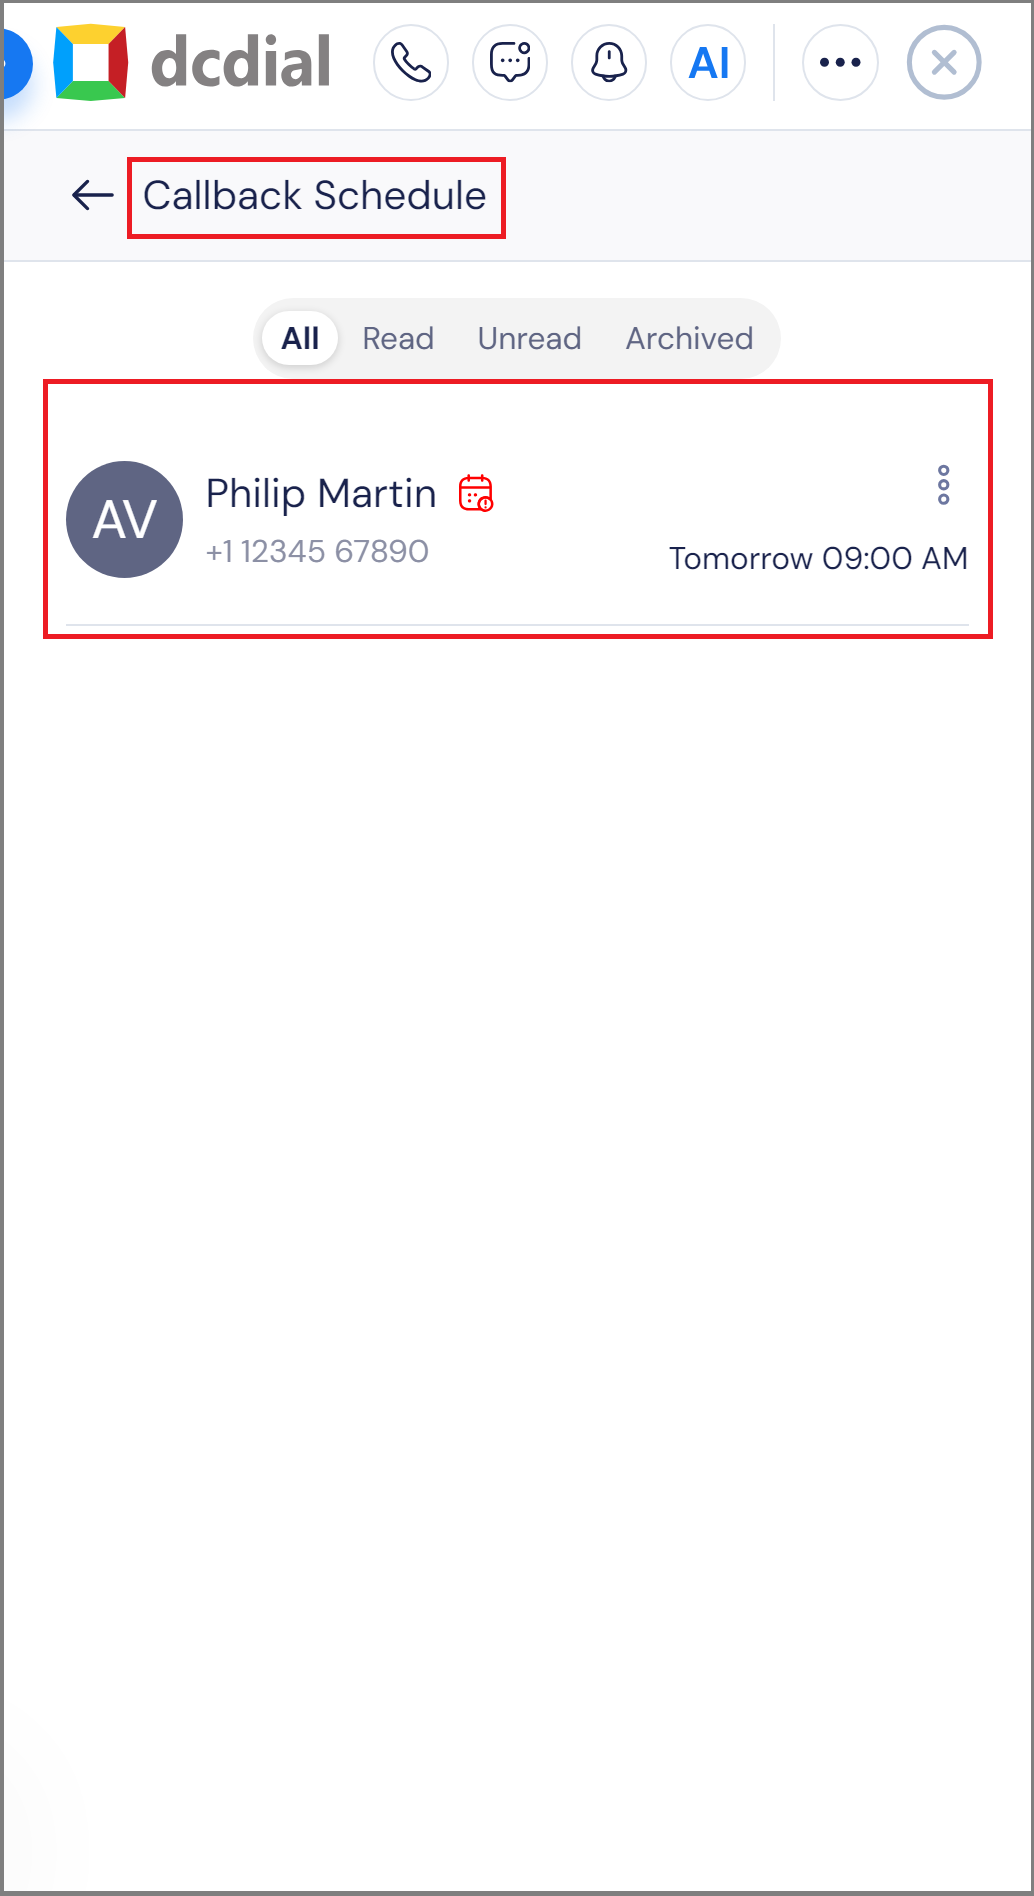
- All: View all scheduled callbacks.
- Read: View all read callbacks.
- Unread: View all unread callbacks.
- Archived: View all archived callbacks.
Edit the scheduled callback:
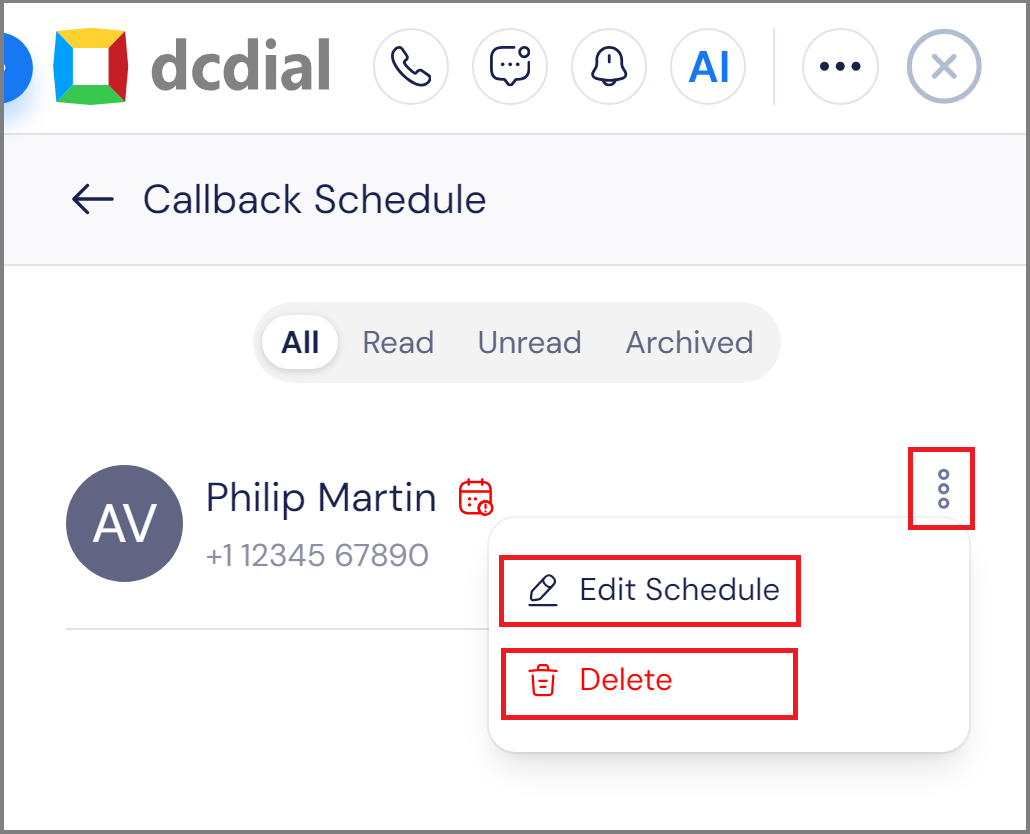
2. Select the "Edit Schedule" option.
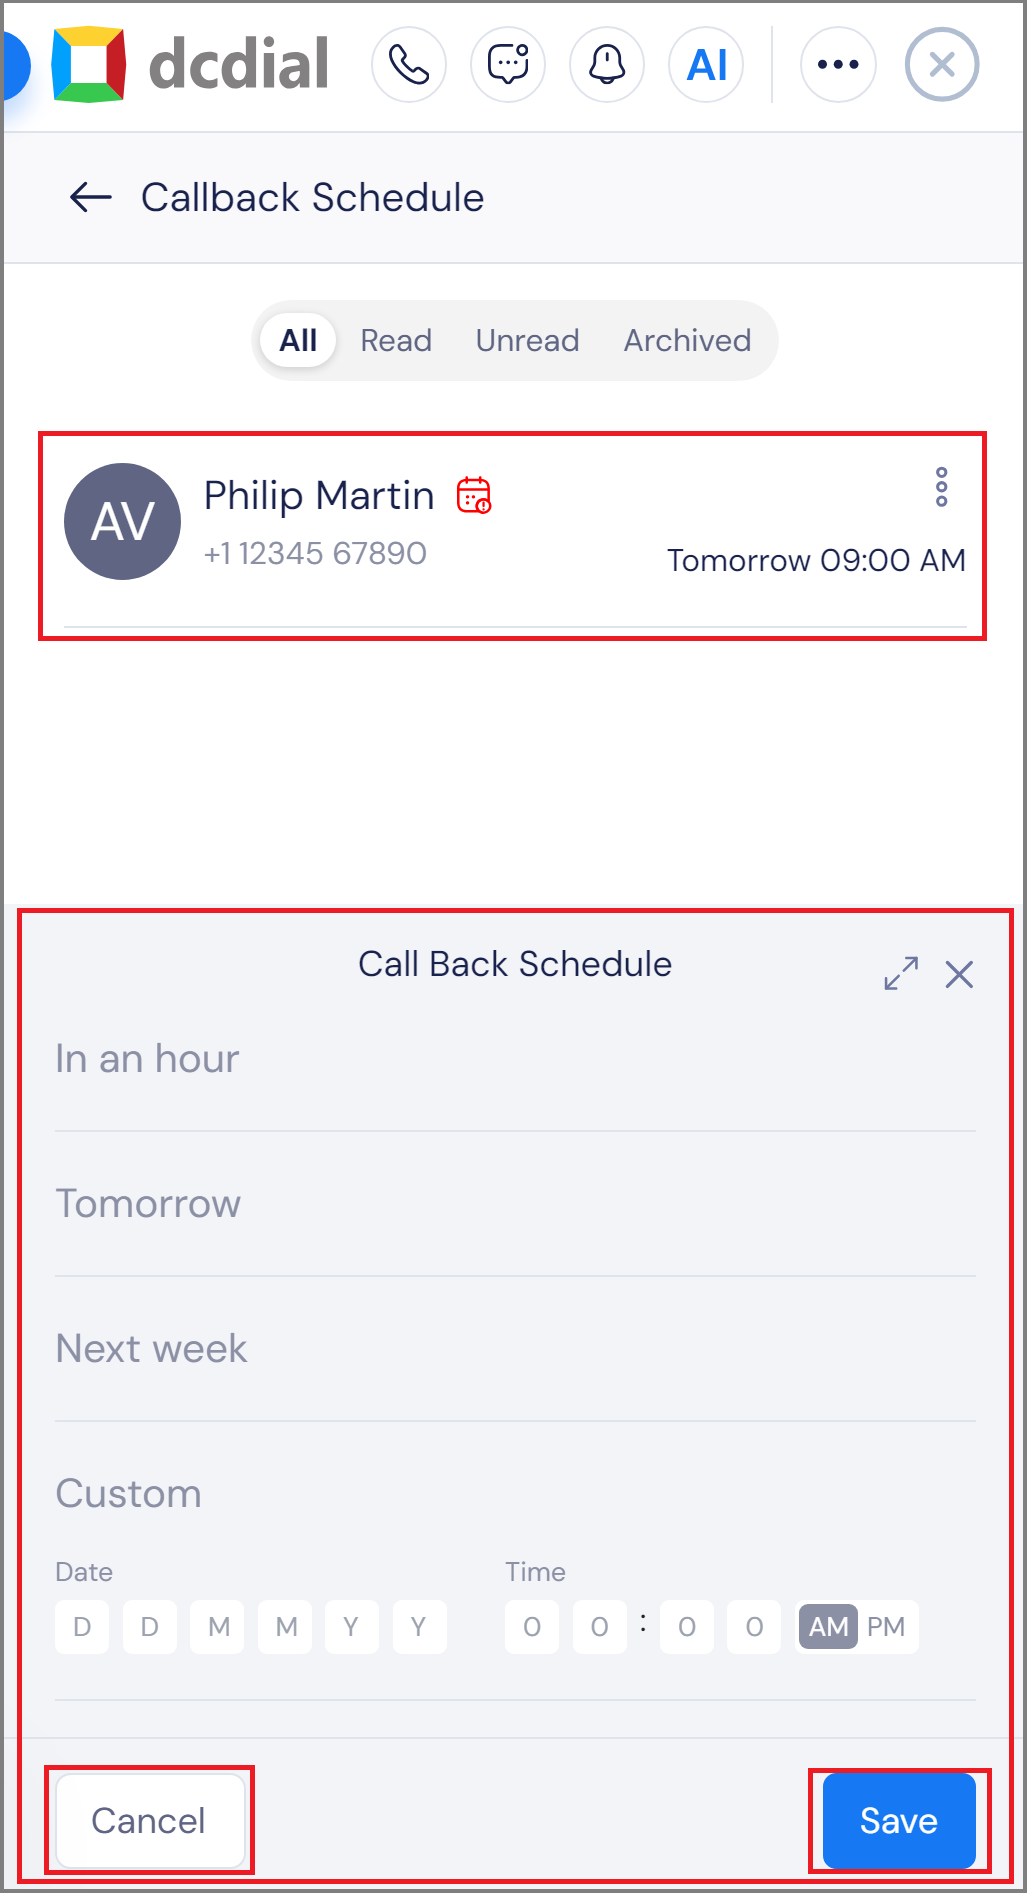
4. Click the "Save" button to save the changes, or click the "Cancel" button to discard them.
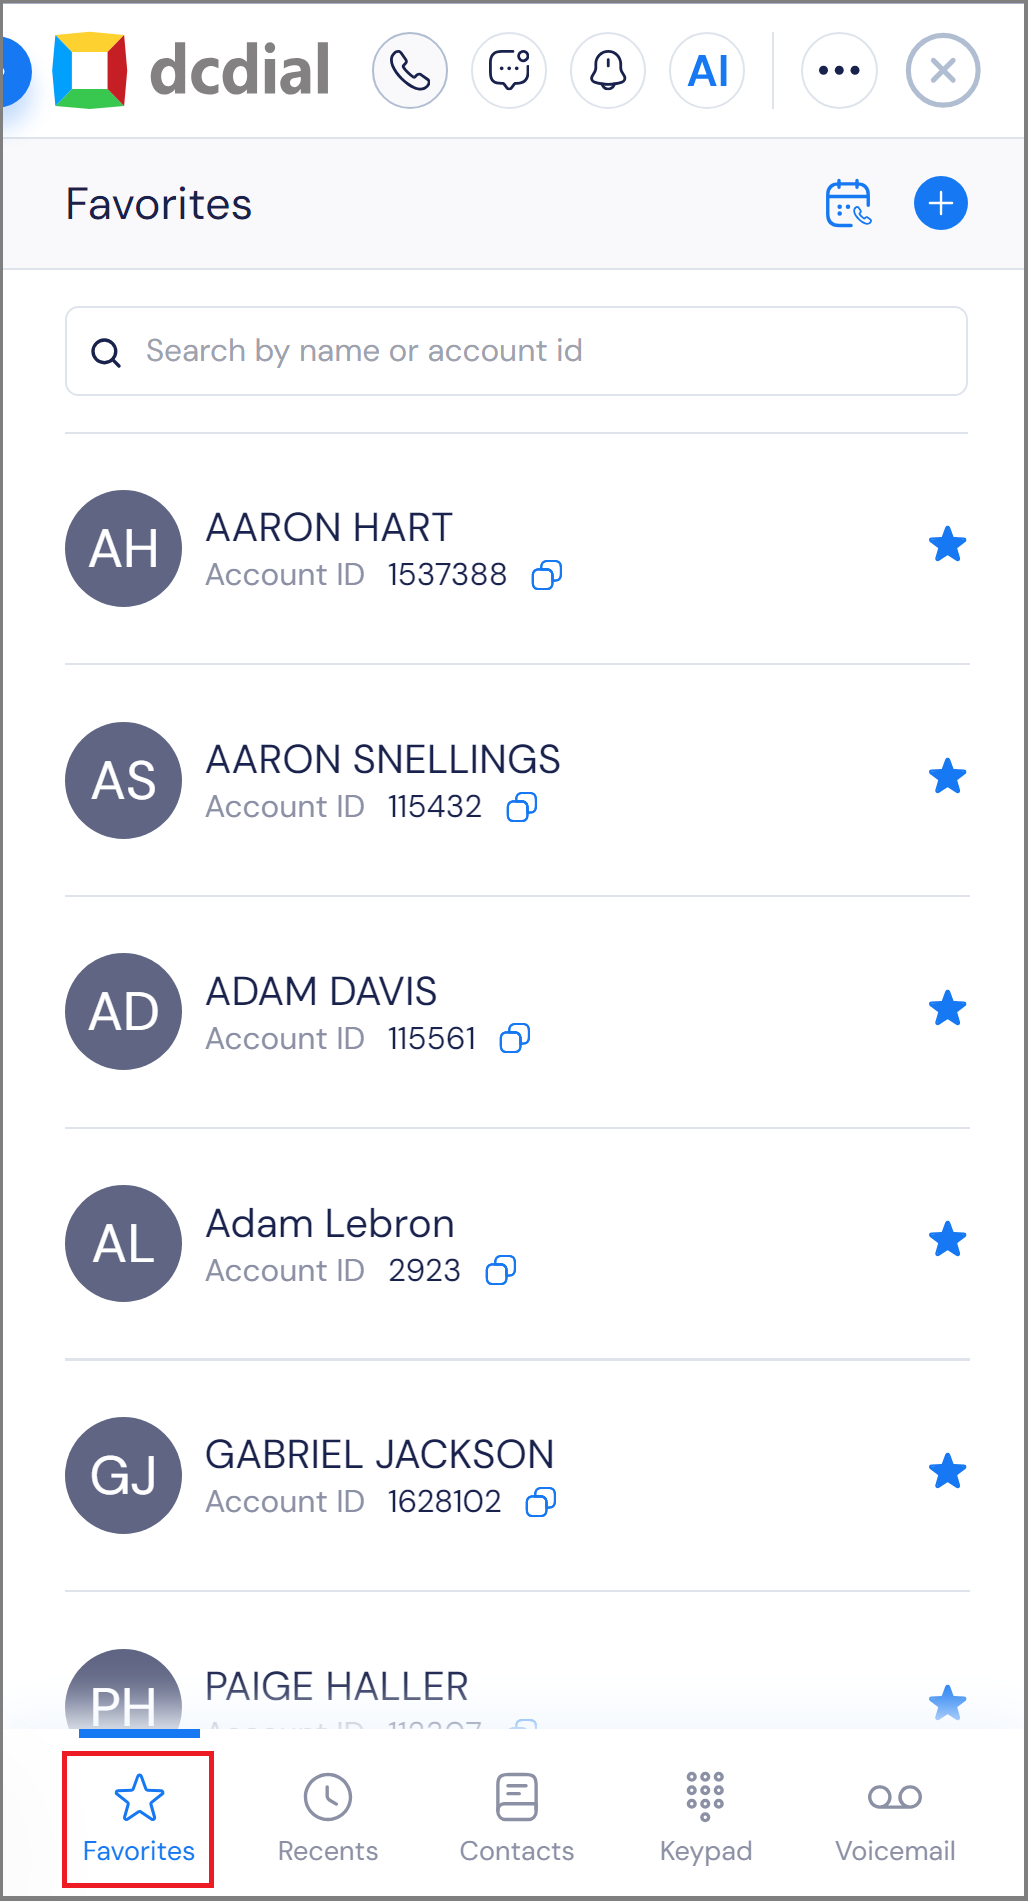
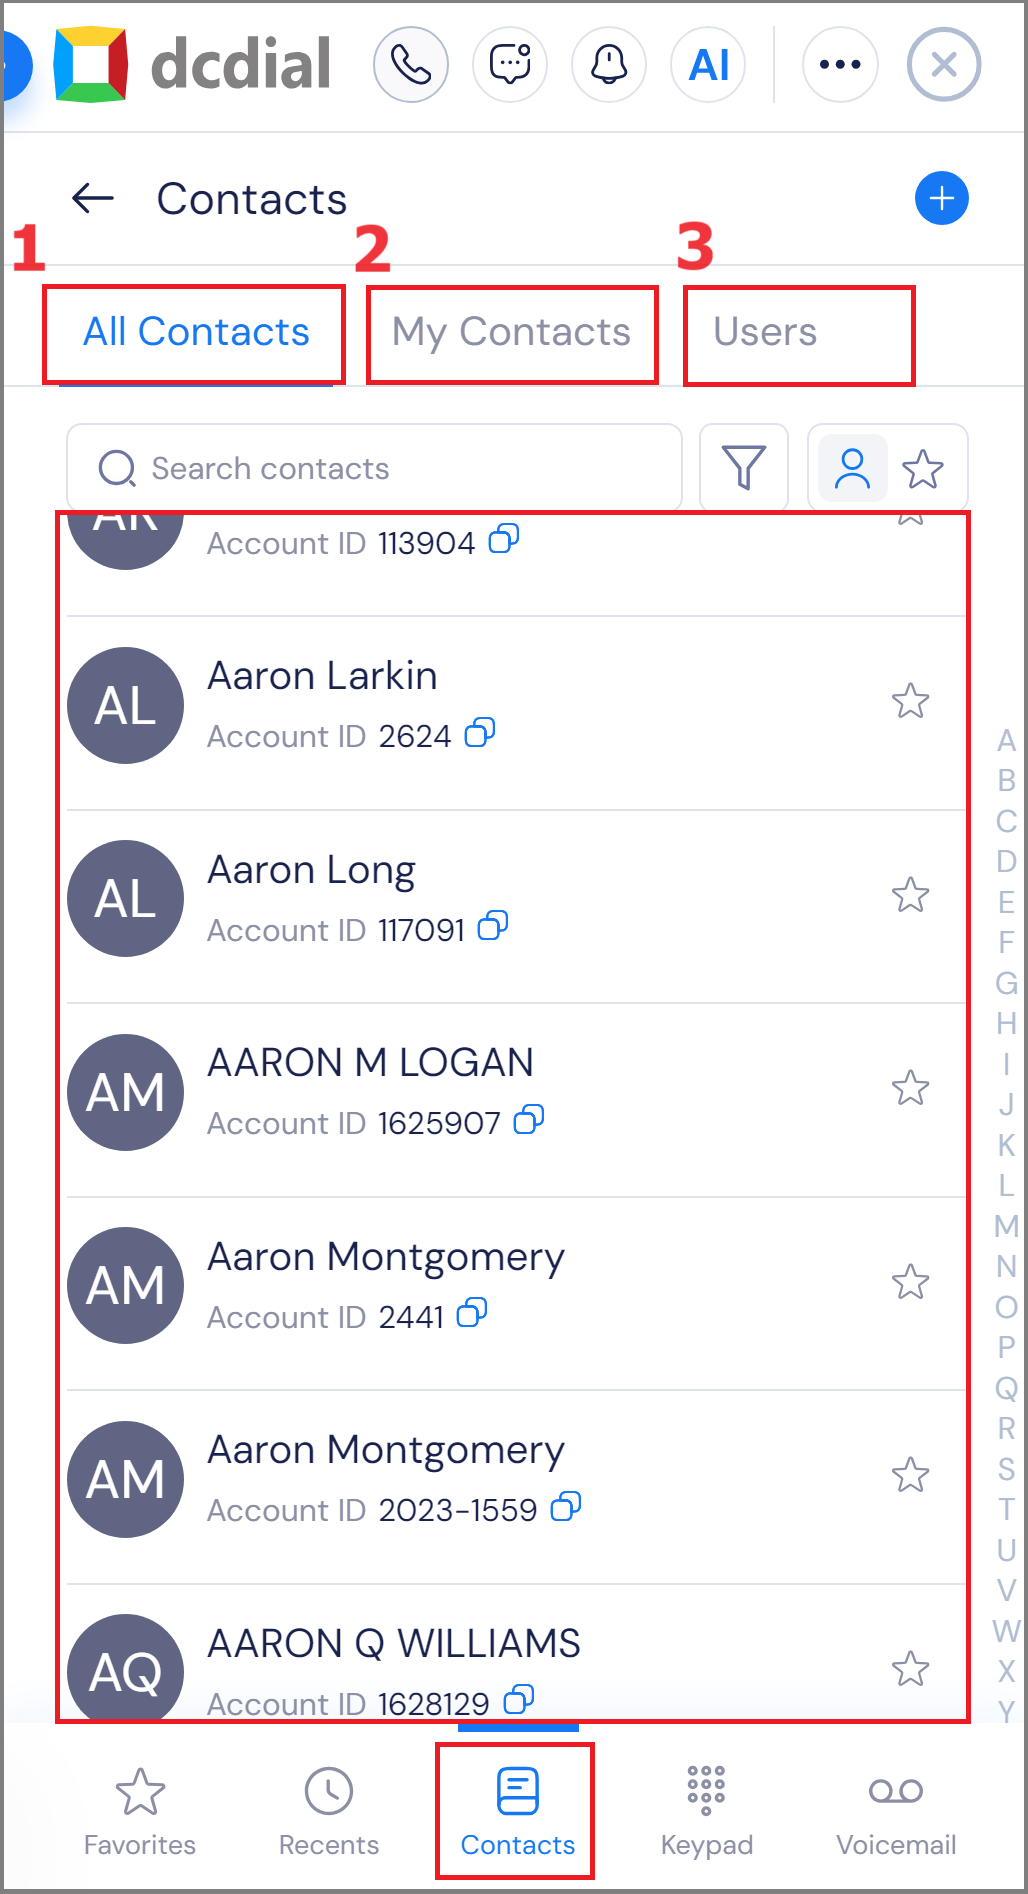
3. Contacts: This section allows you to view all contacts. Click All Contacts(1) to see all company contacts, My Contacts(2) to view contacts assigned to you, and Users(3) to see all extension users. Clicking on any contact will dial their phone number.
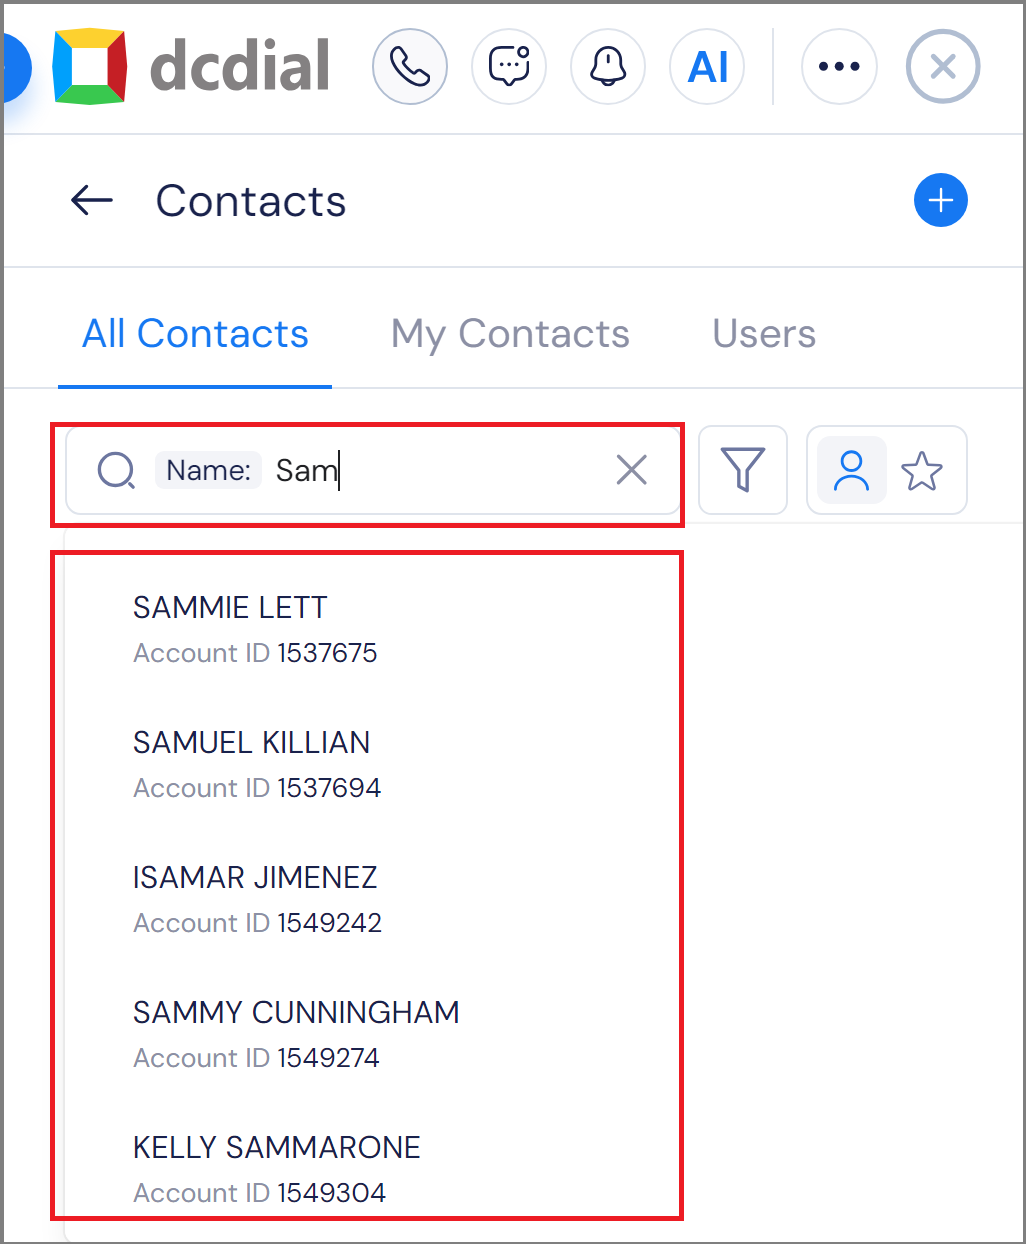
To search for a contact, you can use the following filters:
- Name: Search by contact name
- Account ID: Search by account ID
- Phone Number: Search by phone number
- Email: Search by email
Select the filter you would like to use, enter your query, and the results will appear as you type.

There’s another option to filter the search. Click the funnel icon to display three additional options:
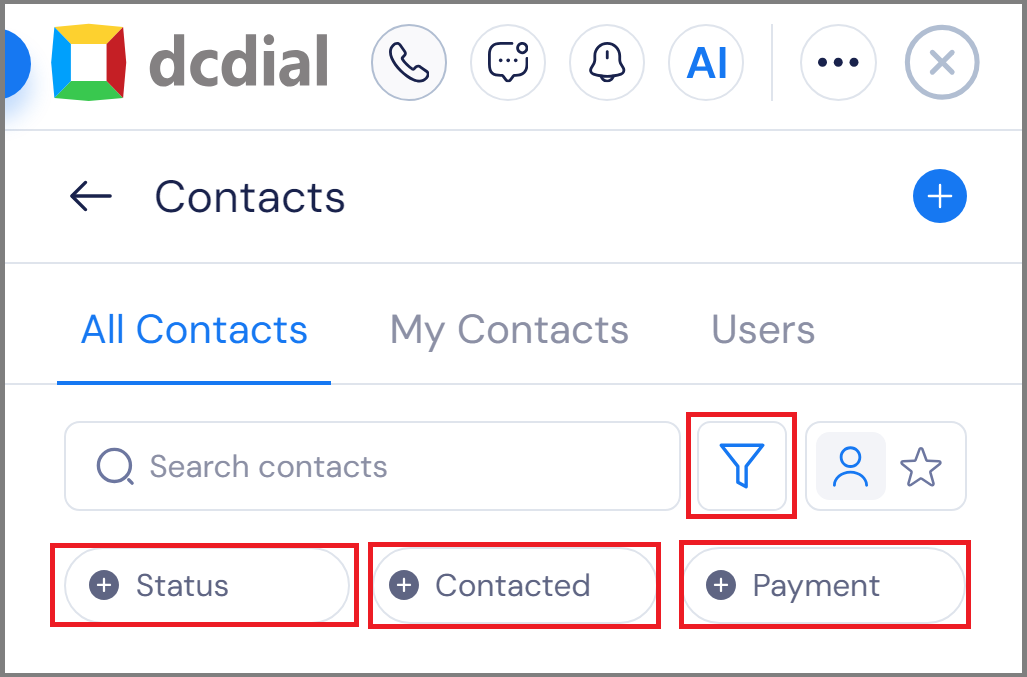
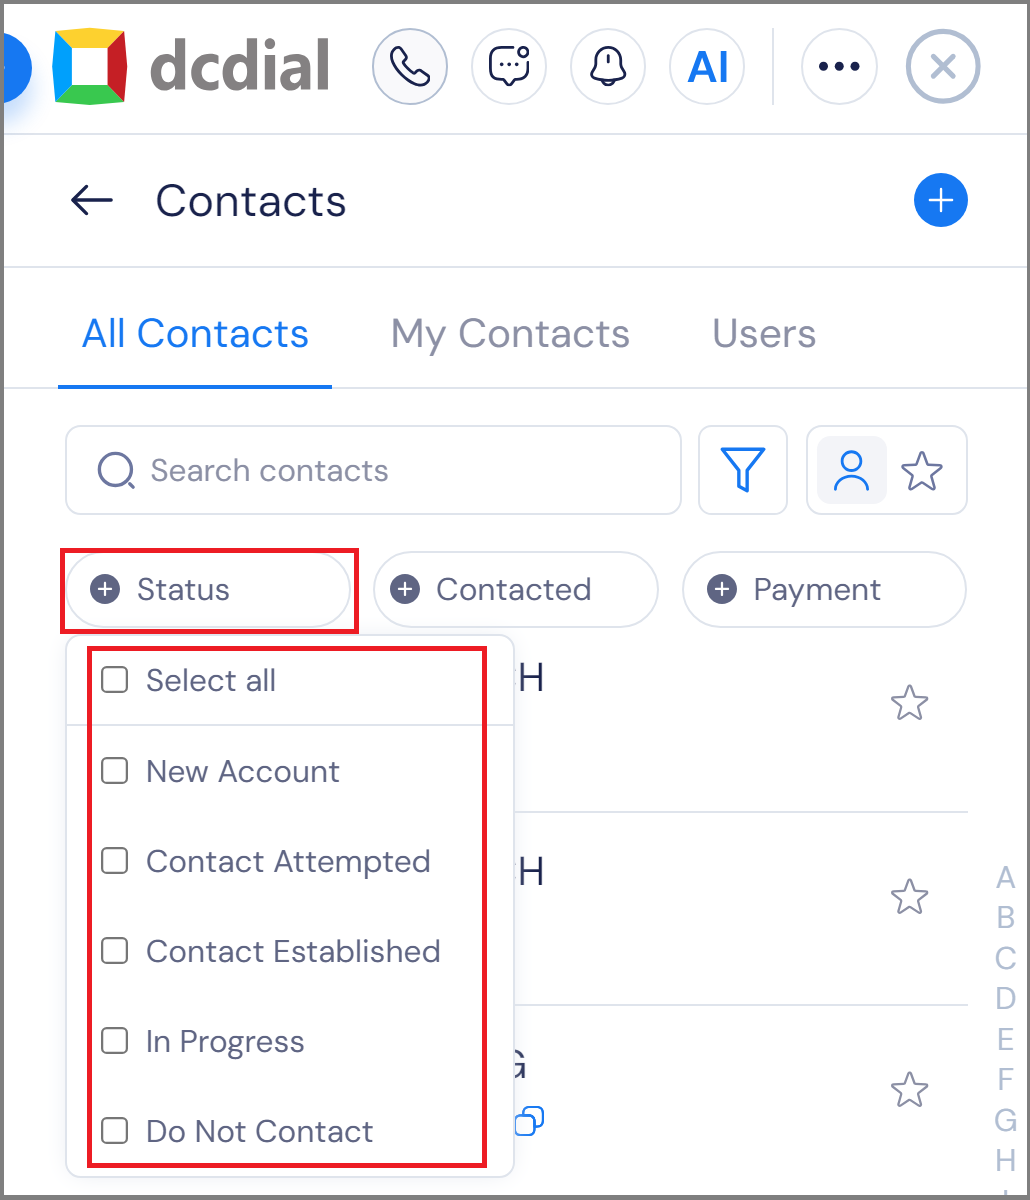
Status: Search by account status
- Select All: Select all options
- New Account: Search all accounts with new account status
- Contact Attempted: Search all accounts with contact attempted status
- Contact Established: Search all accounts with contact established status
- In Progress: Search all accounts with in-progress status
- Do Not Contact: Search all accounts with do not contact status
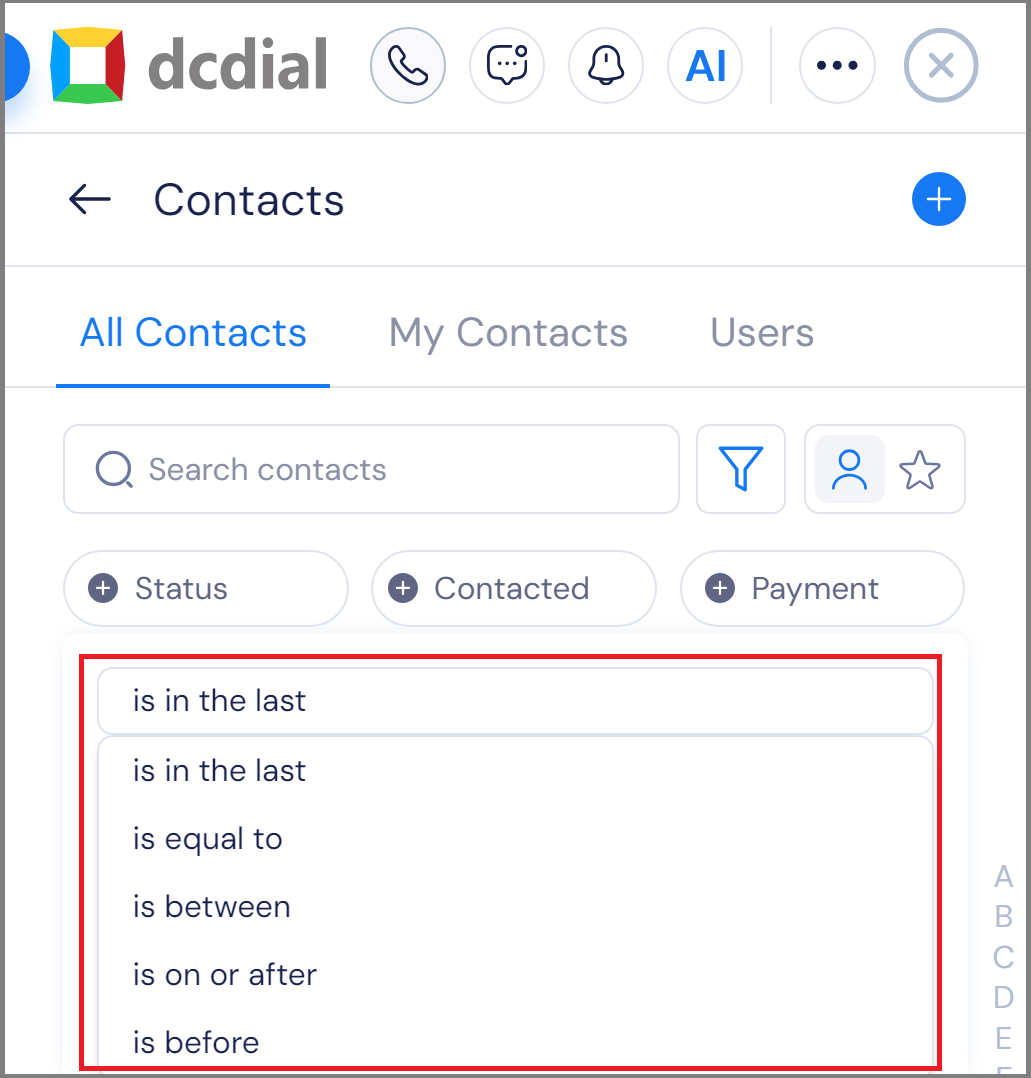
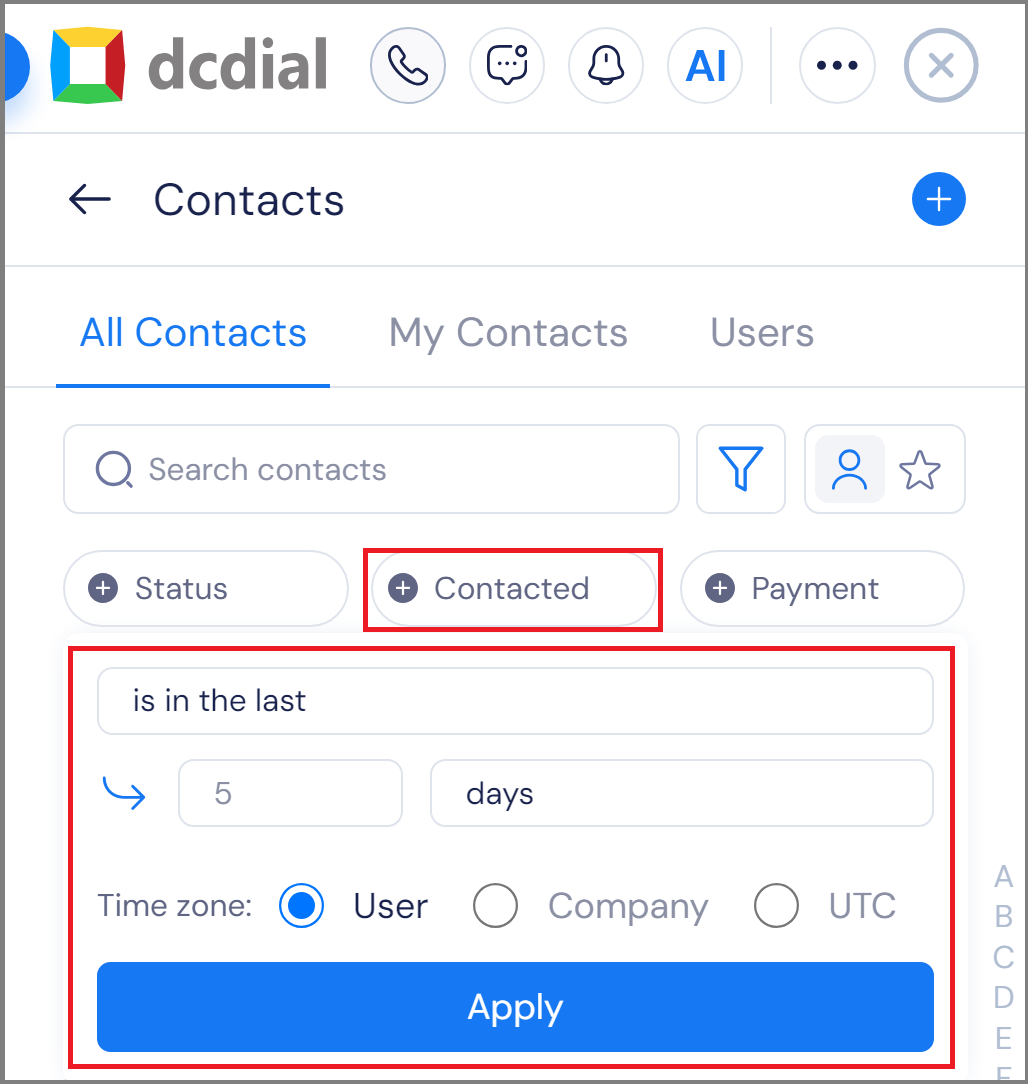
Contacted: Search by contacted status.
Use the following comparison operators to specify the search:
- Is in the last
- Is equal to
- Is between
- Is on or after
- Is before
Specify the number of days and the time zone:
- User: This will use the user's time zone.
- Company: This will use the company's time zone.
- UTC: This will use the UTC time zone.
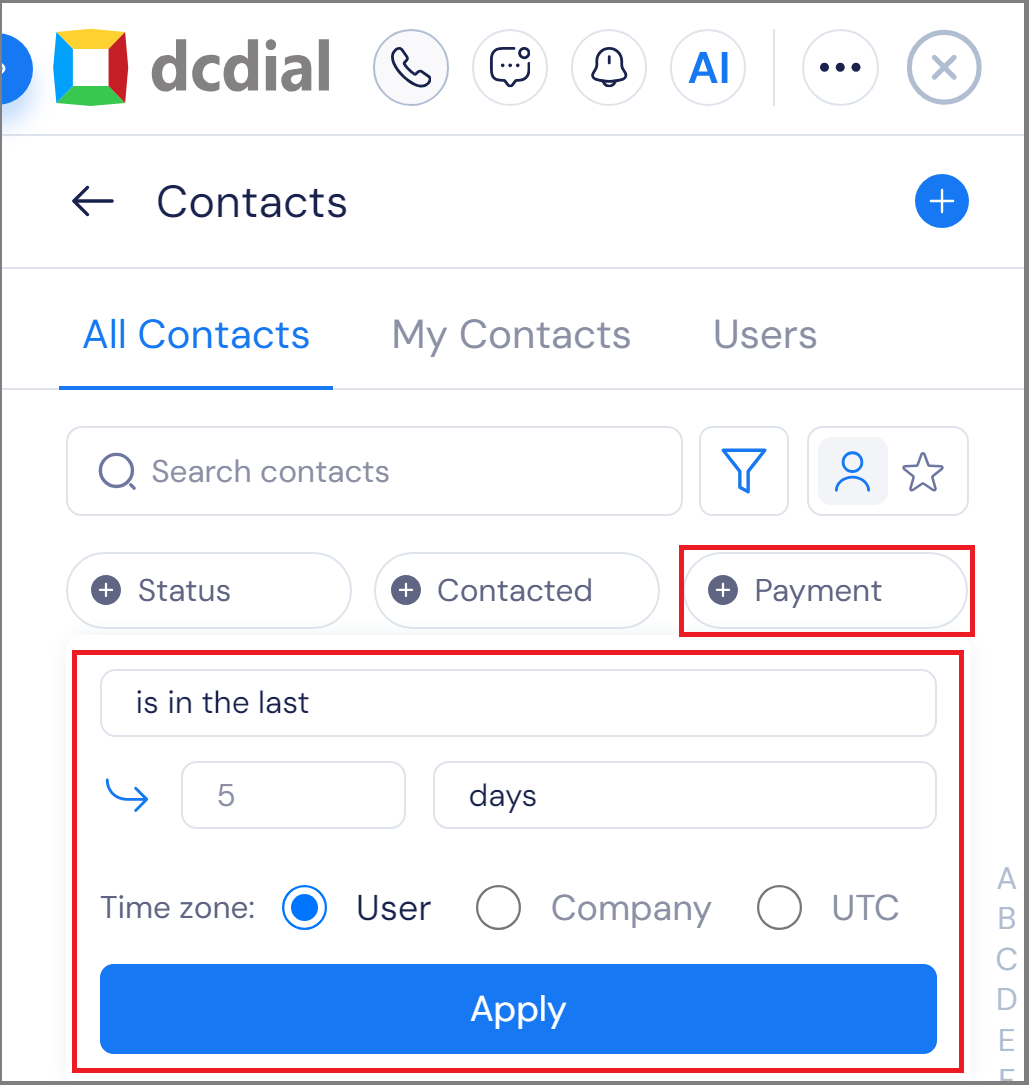
Payment: Search by payment status
Use the following comparison operators to specify the search:
- Is in the last
- Is equal to
- Is between
- Is on or after
- Is before
Specify the number of days and the time zone:
- User: This will use the user's time zone.
- Company: This will use the company's time zone.
- UTC: This will use the UTC time zone.

4. Keypad: Here you can manually dial a phone number and initiate a call. Simply dial the phone number on the keypad and press the call button. To add the number to a contact, select the "Add Number" option.
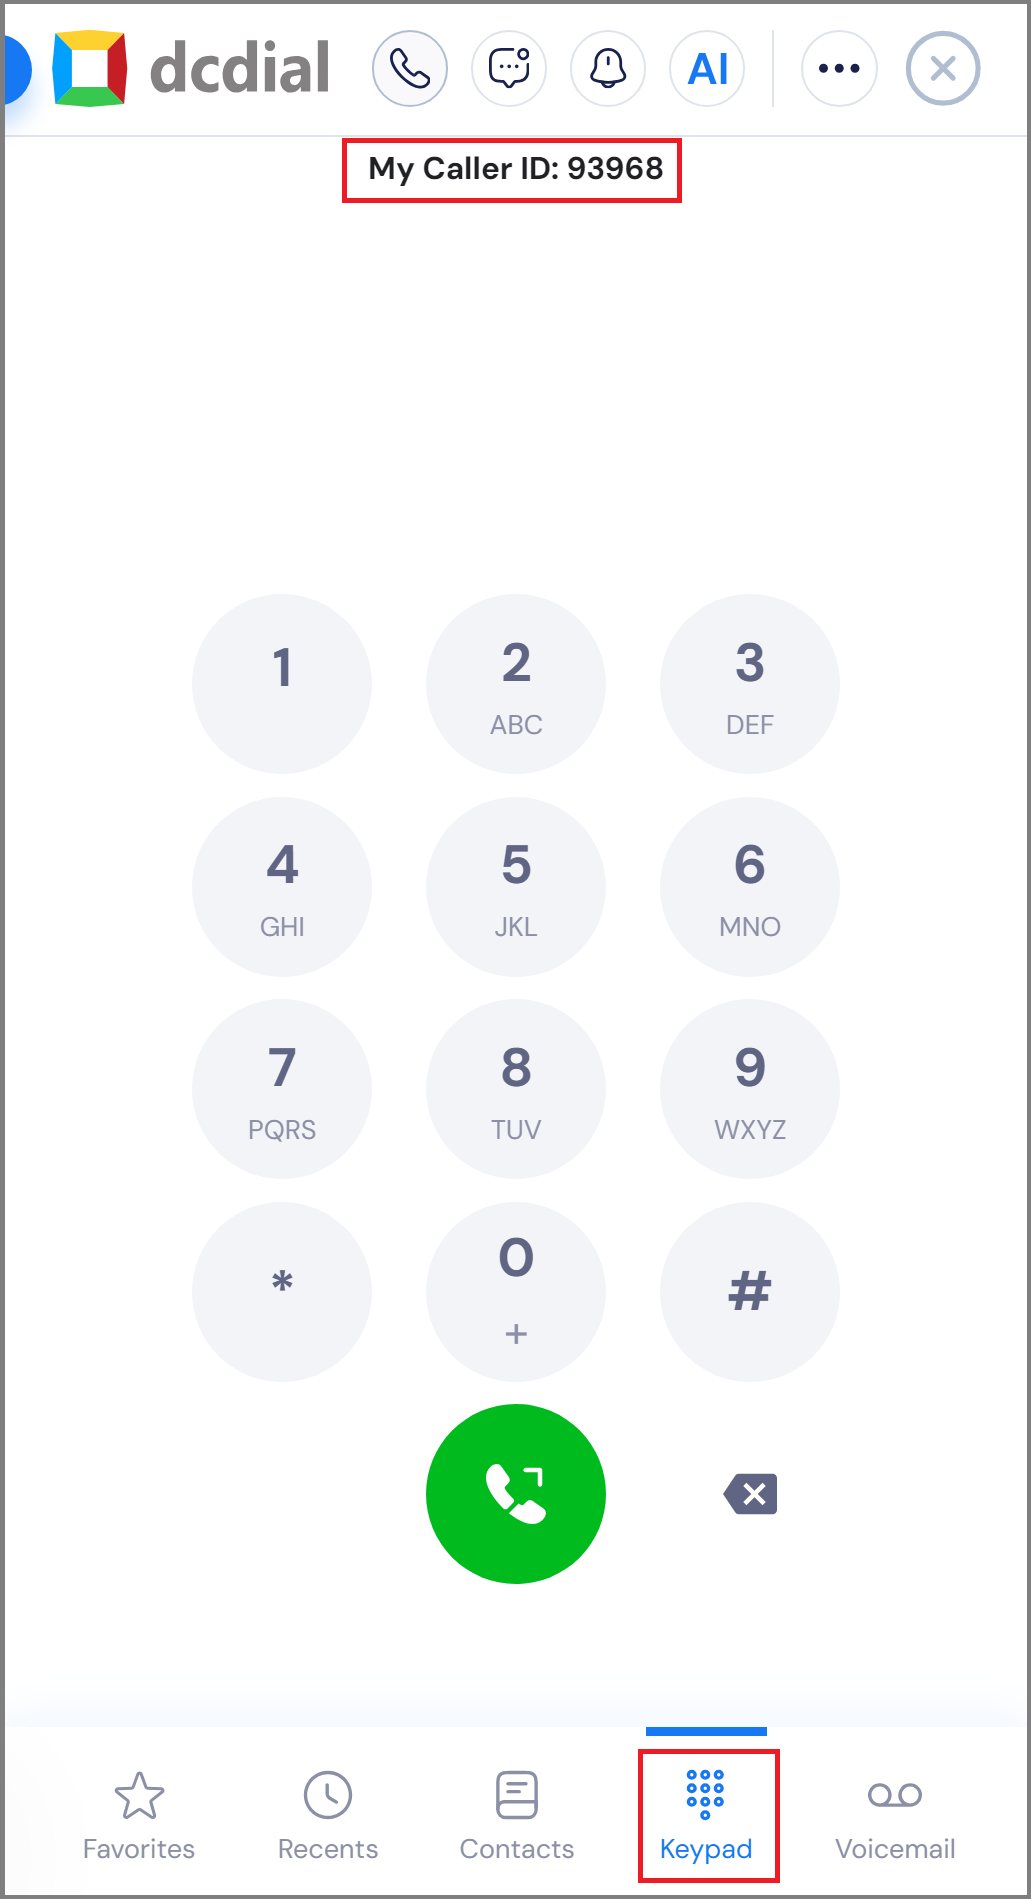
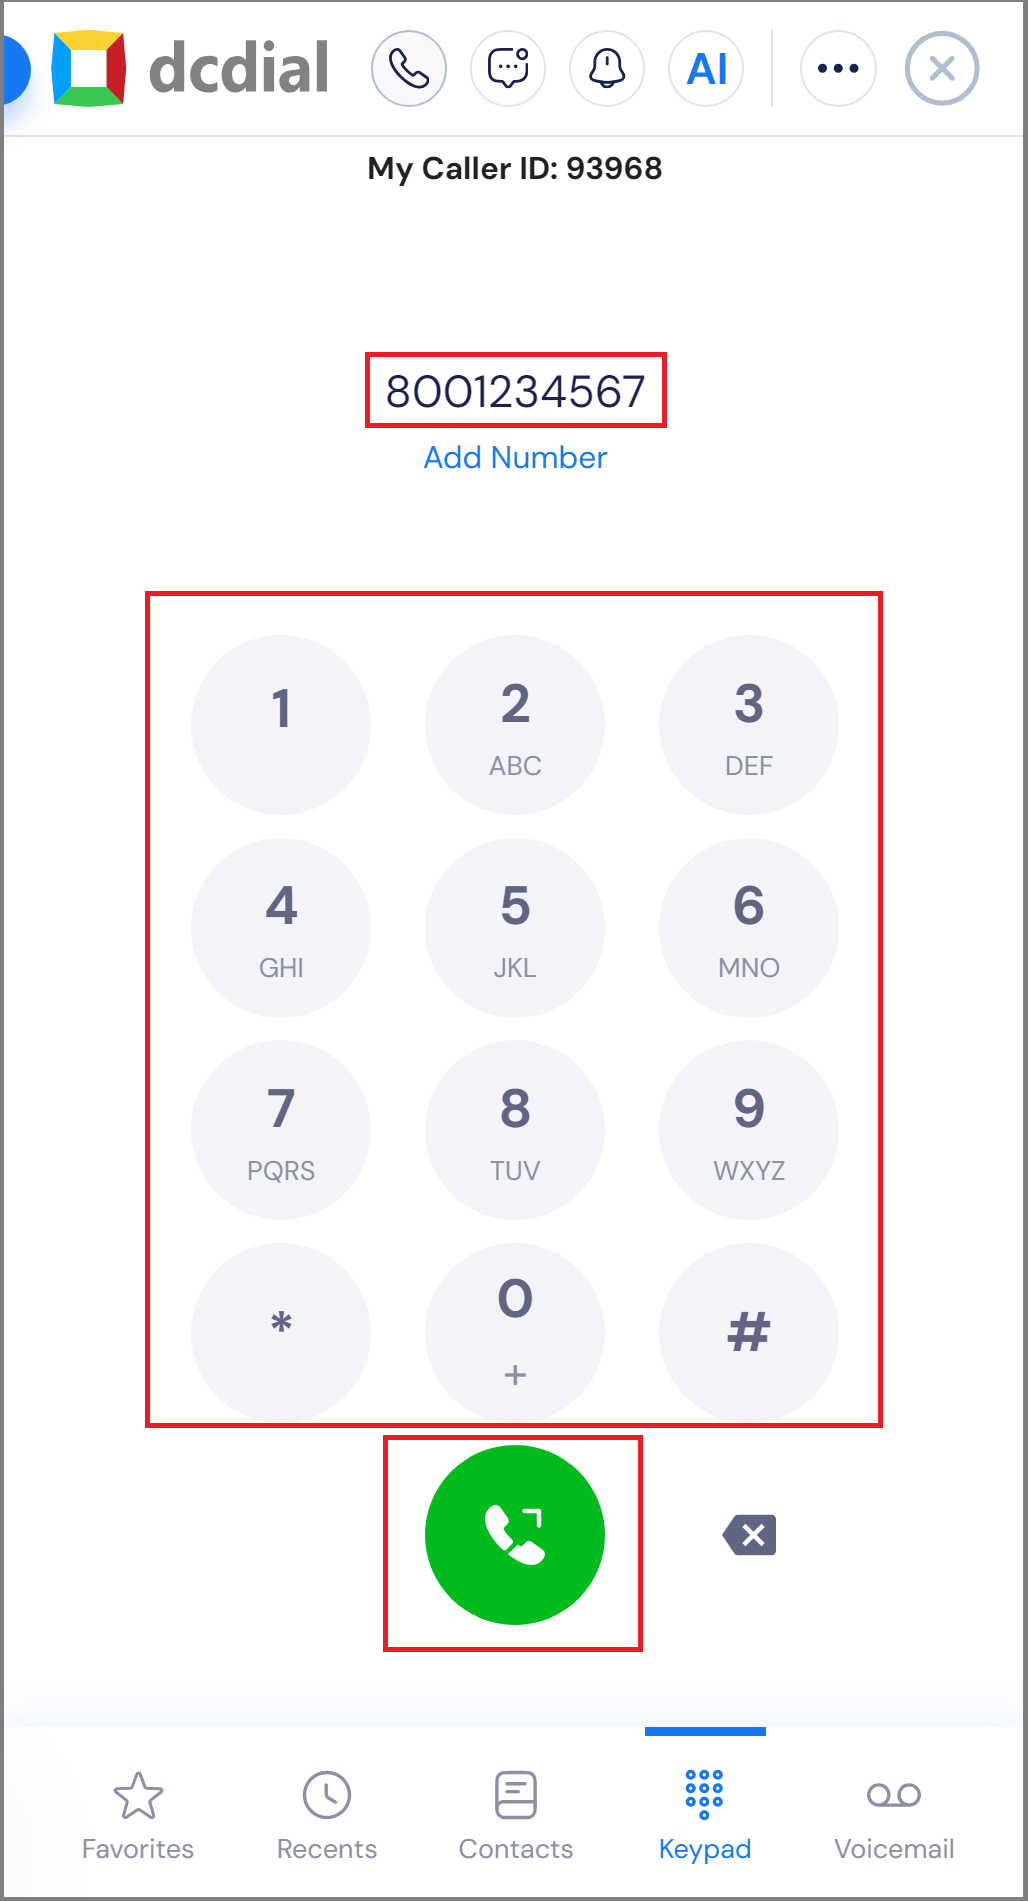
Please note: The caller ID will be set when you create the user account and you need admin access to assign a caller ID to a user.
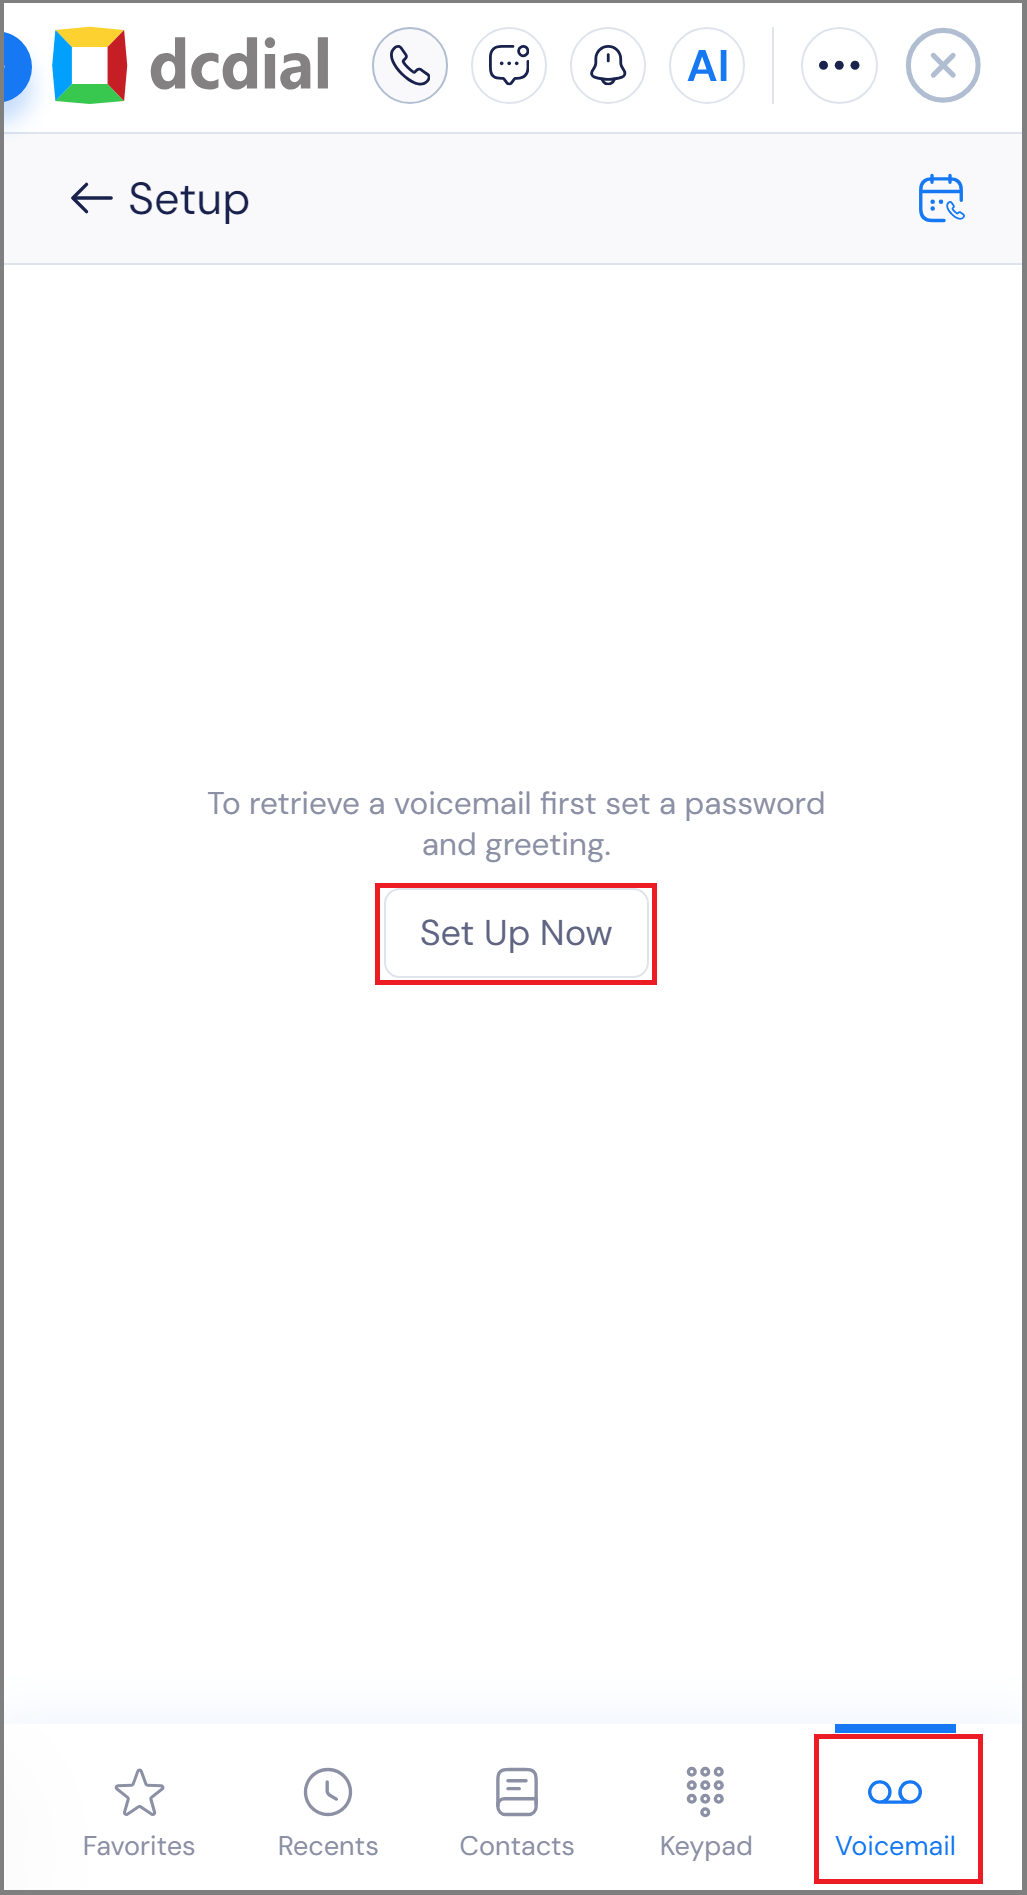
When using this option for the first time, you'll need to set up your voicemail password and greeting:
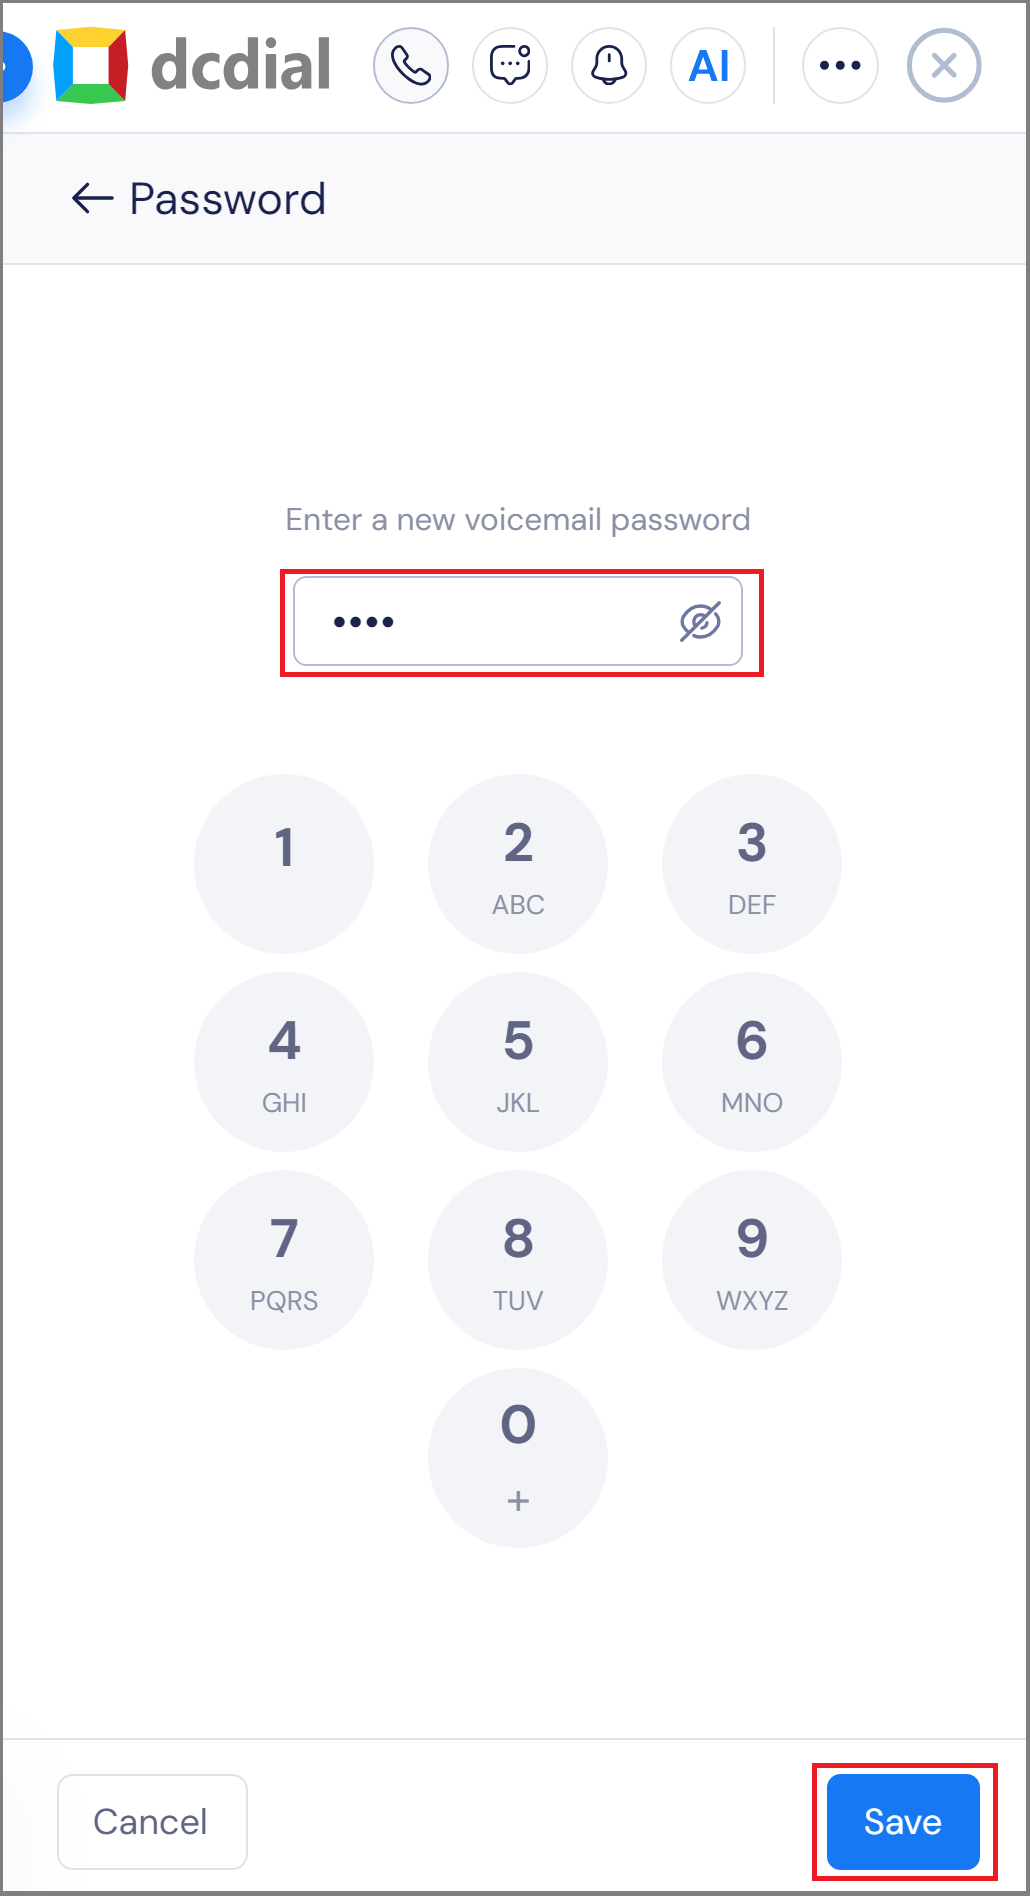
2. Enter your new voicemail password, which must be a 4-digit number.
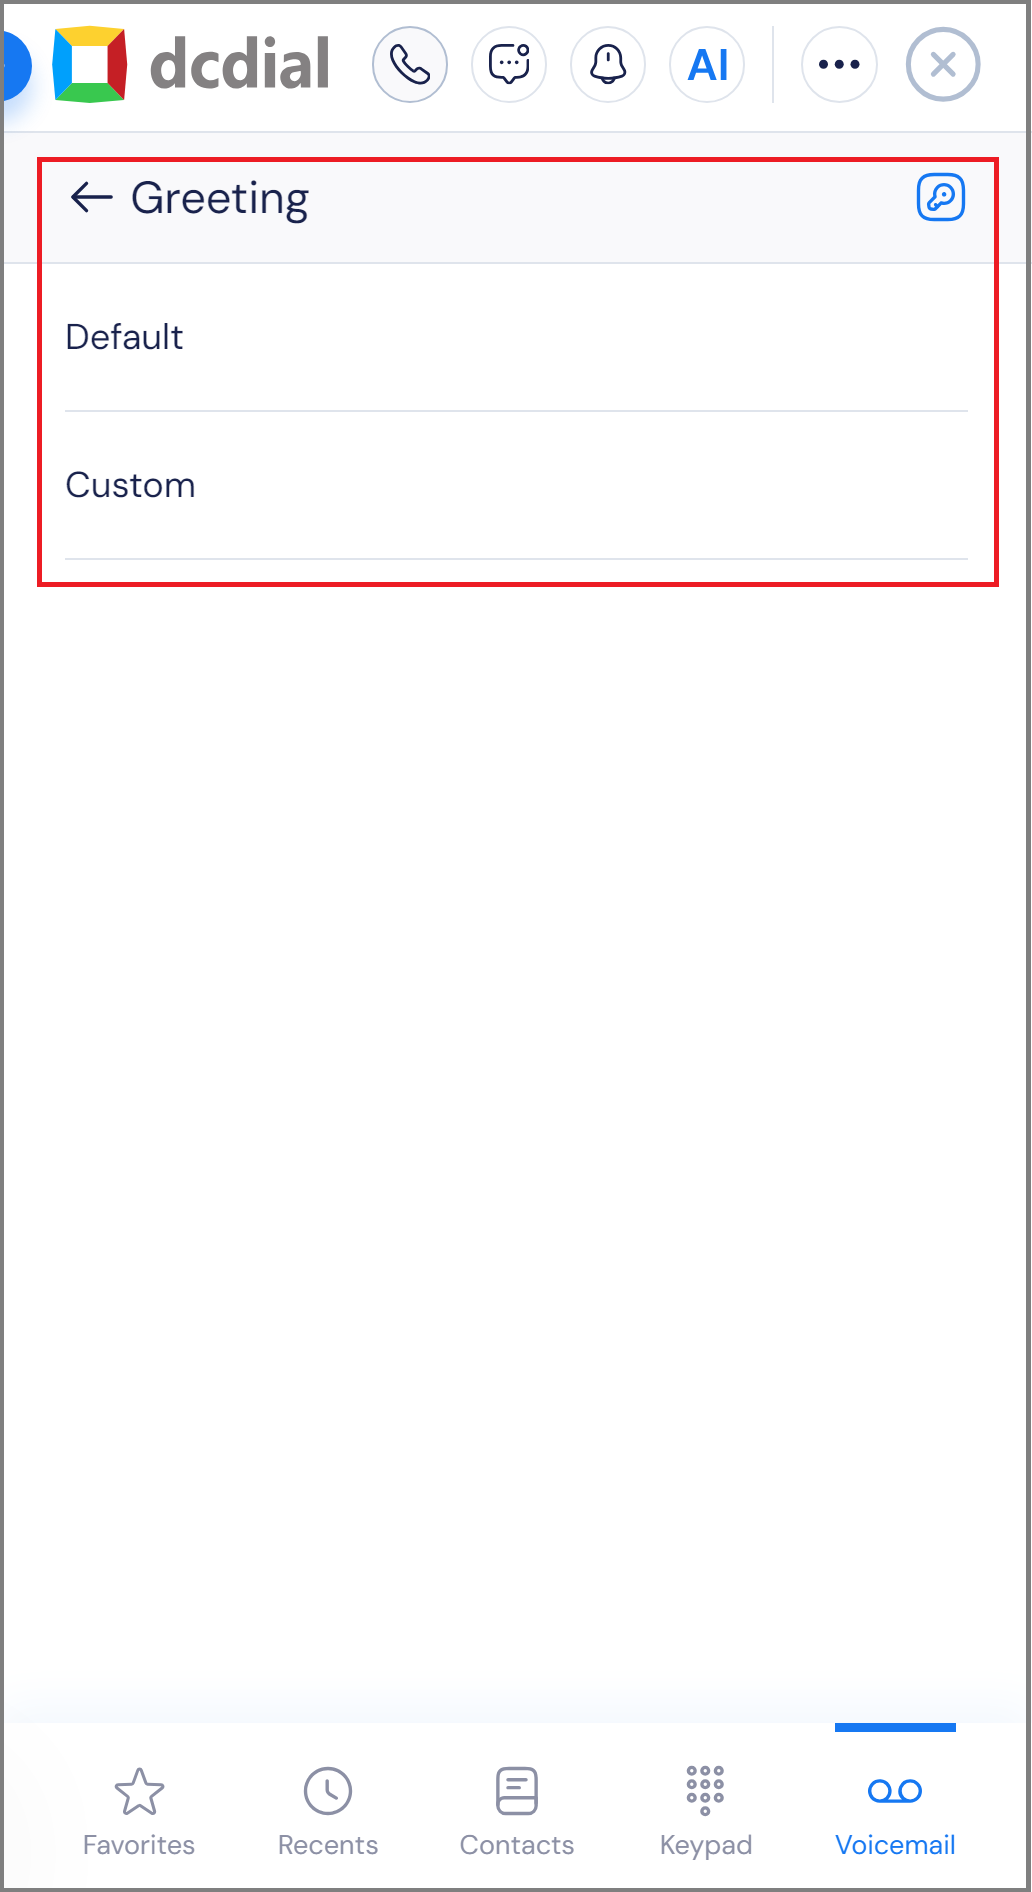
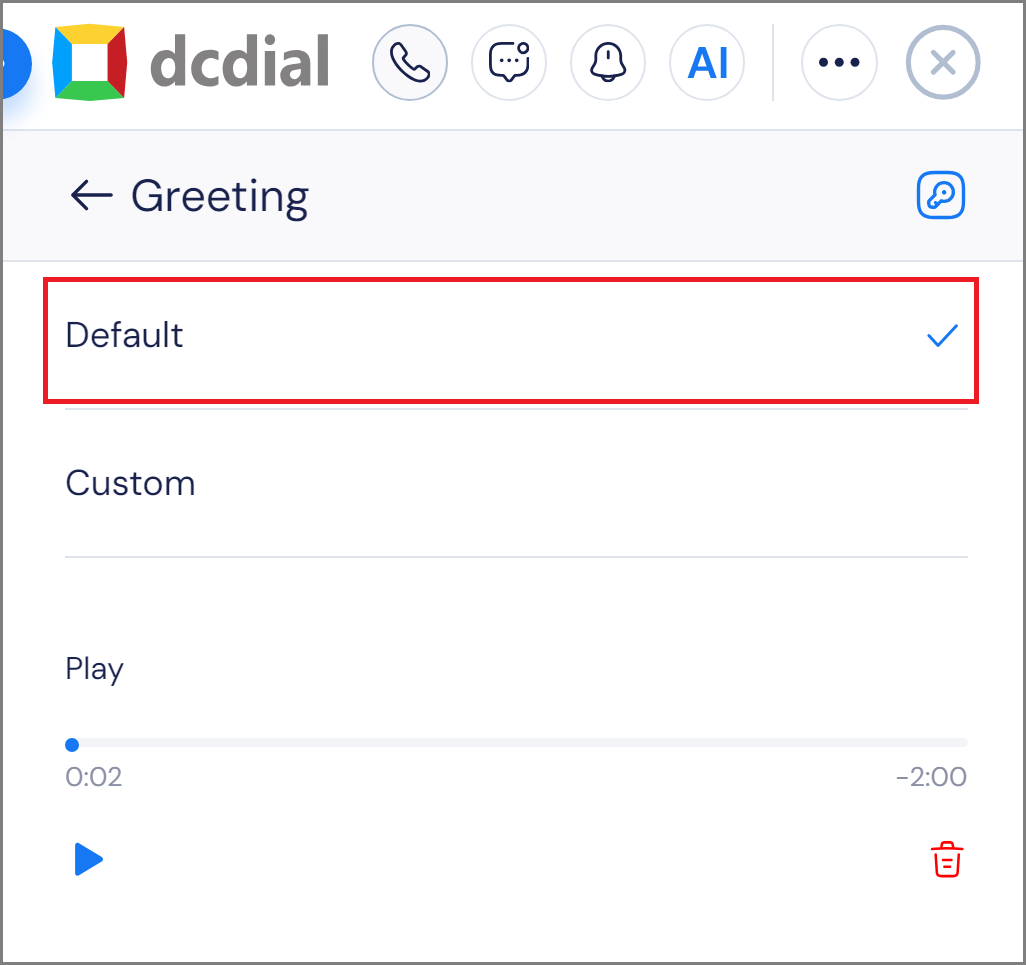
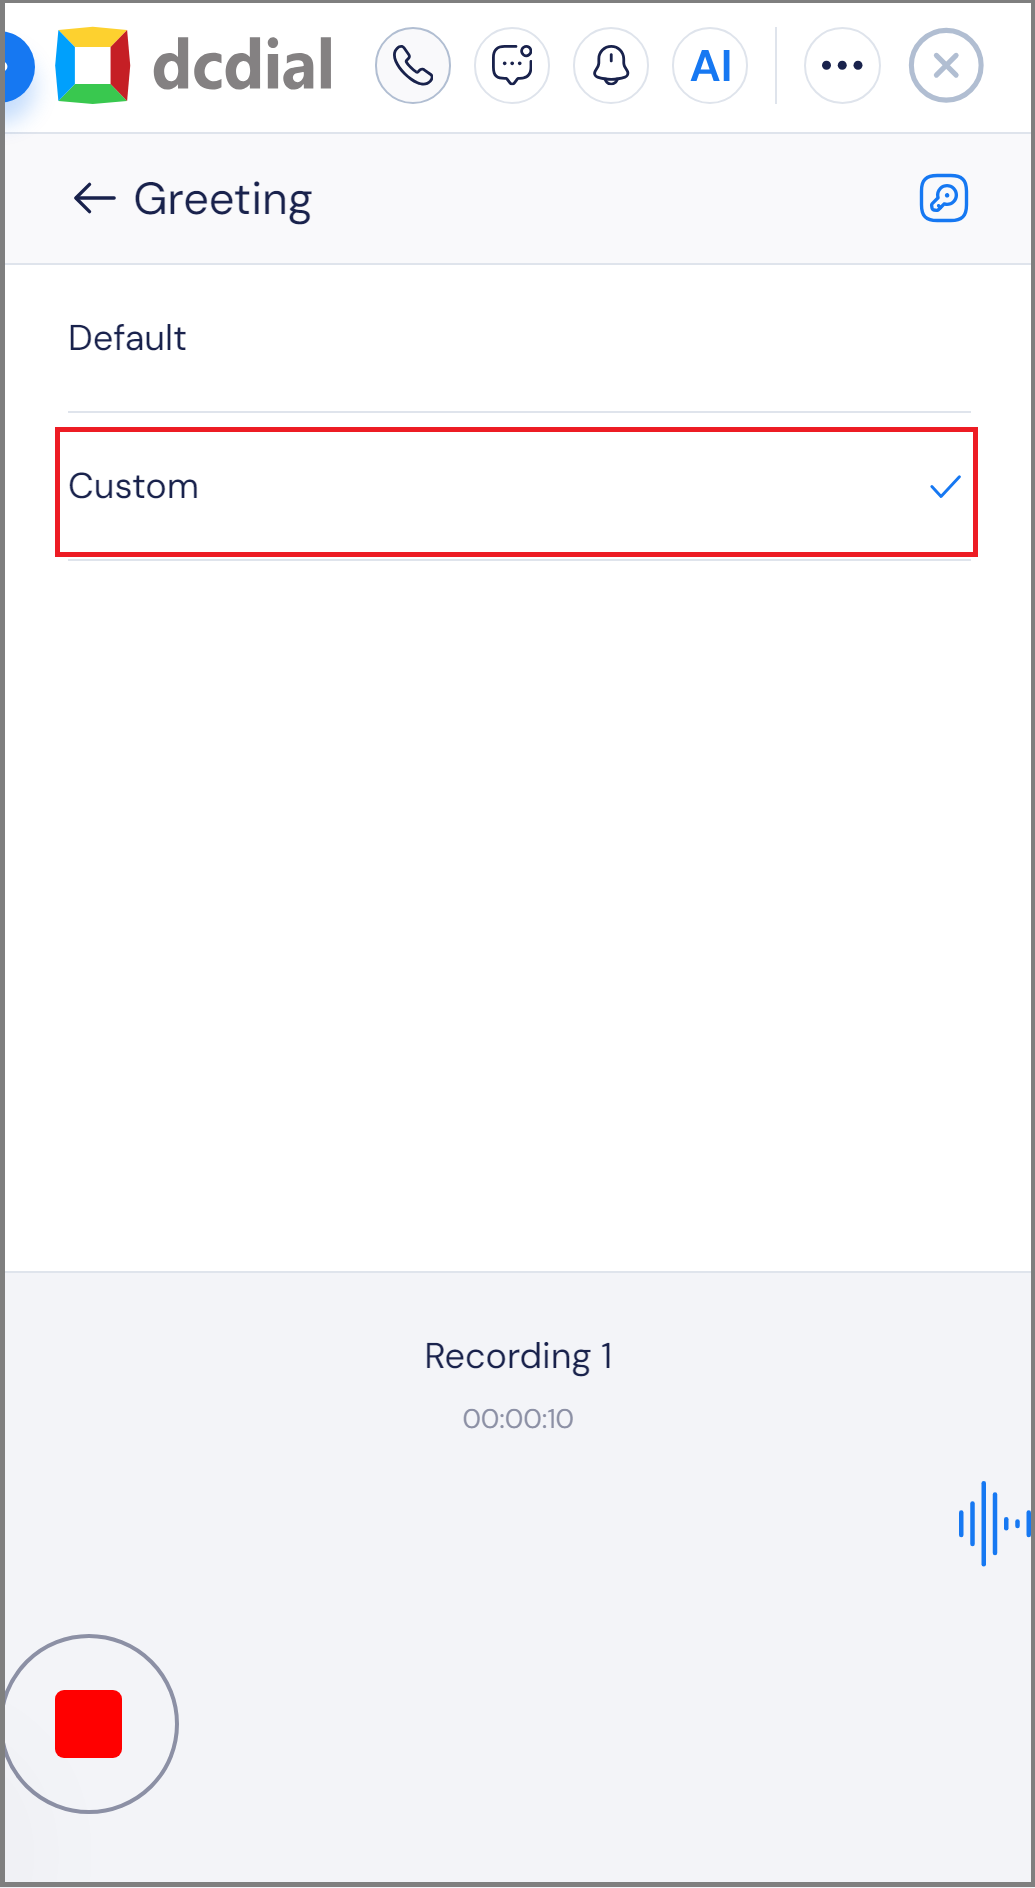
- Default: Use the automated voicemail greeting provided by the system.
- Custom: Record your own personalized voicemail greeting.
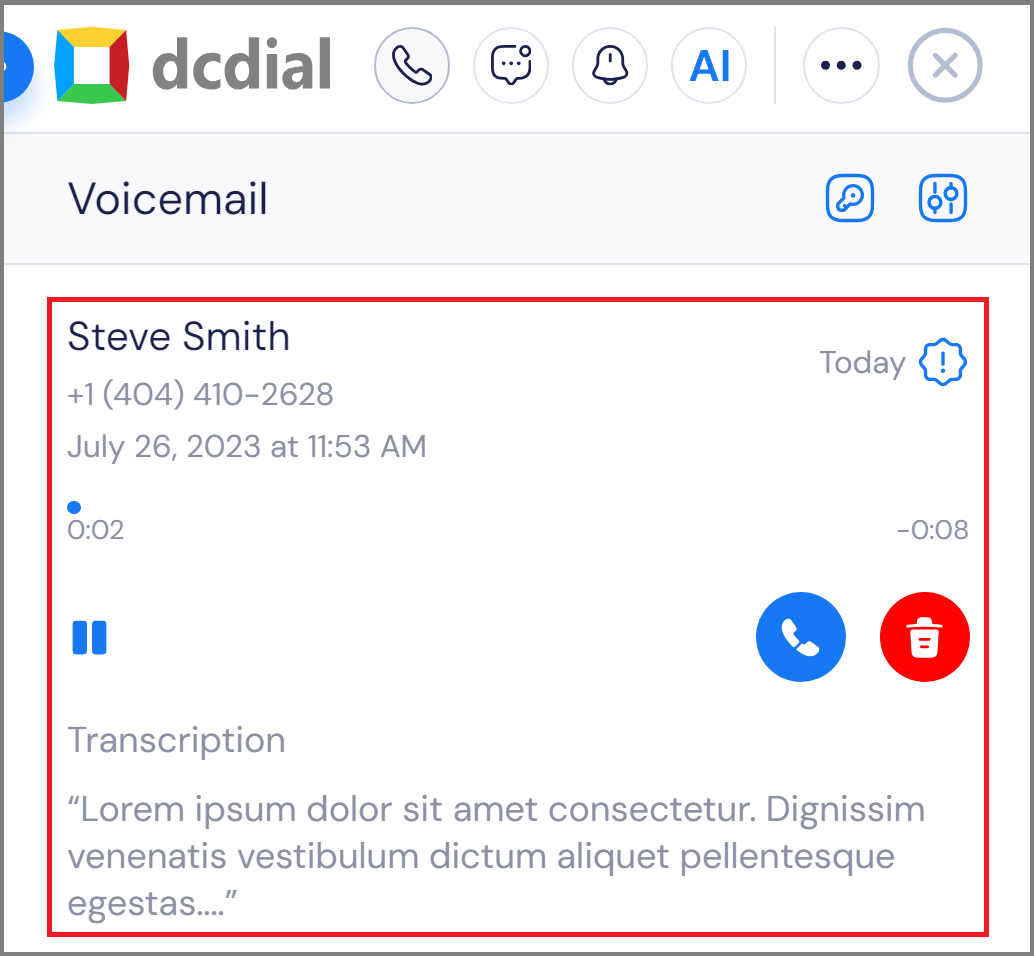
After setting up your password and greeting, select "Save." You will then be directed to the voicemail screen, where you can view your received voicemails.
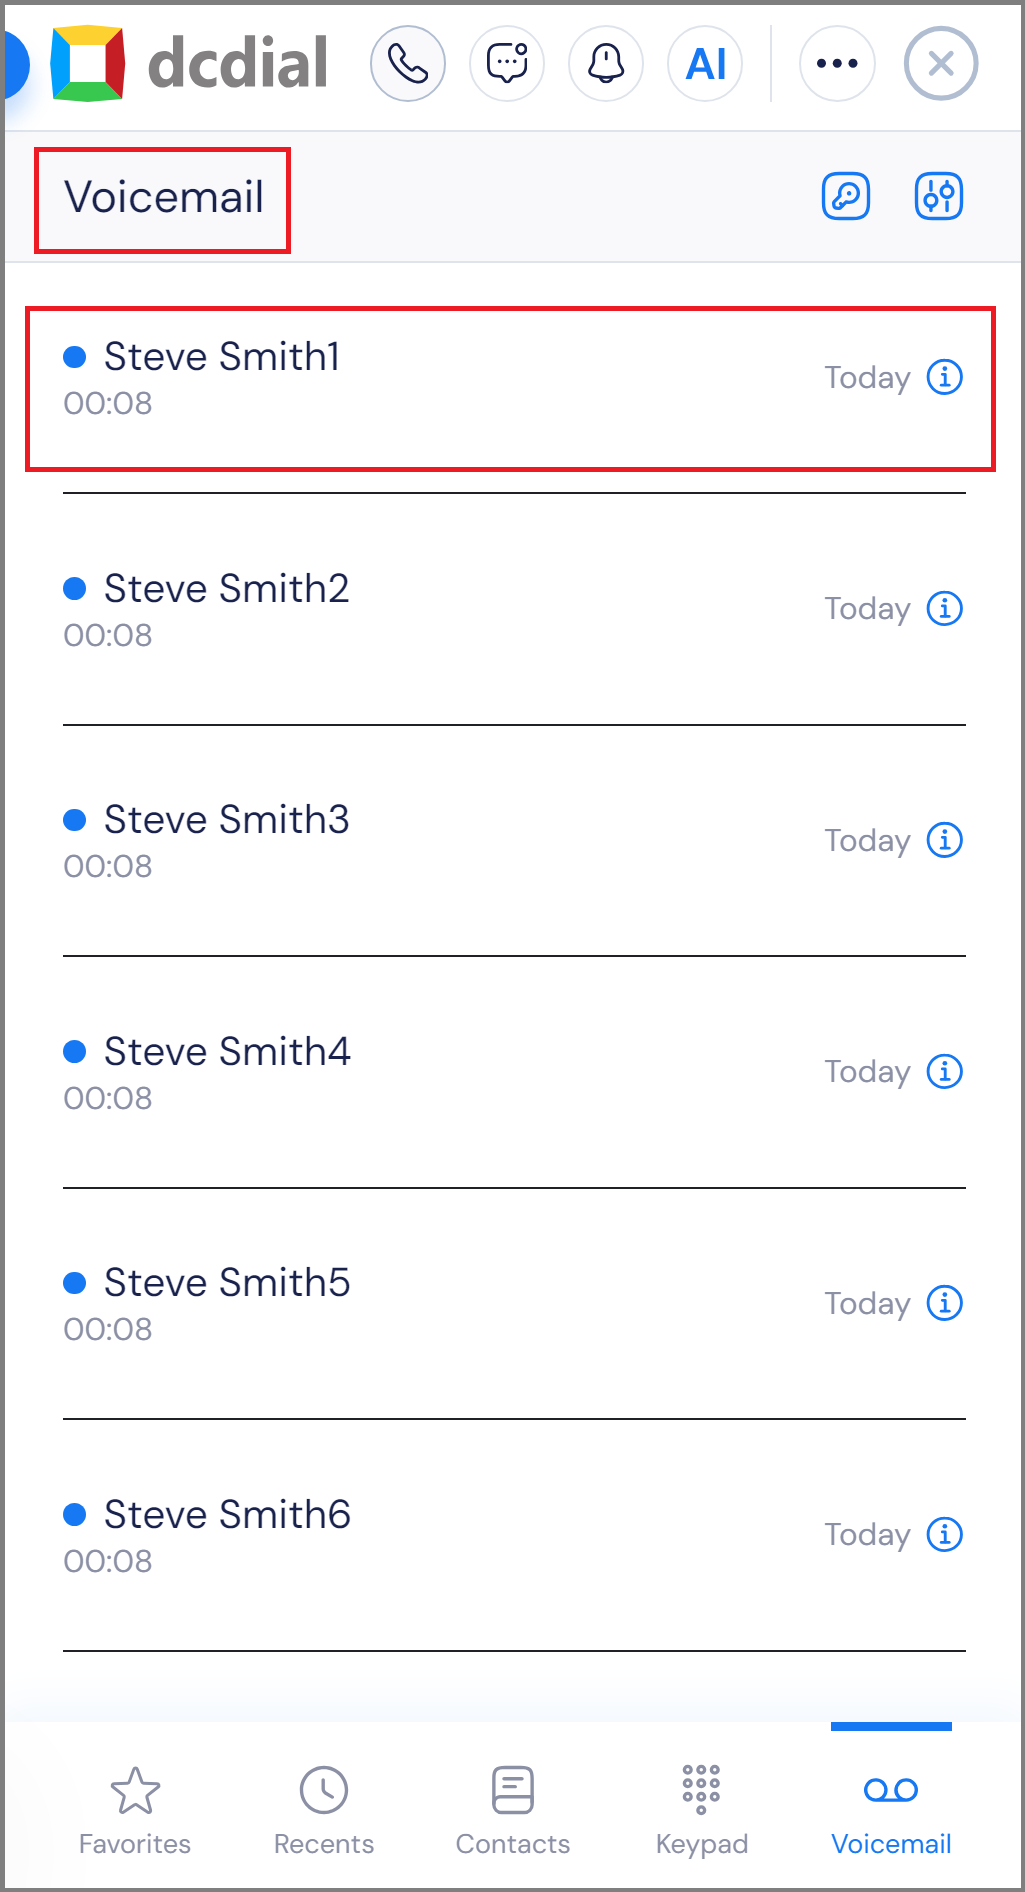
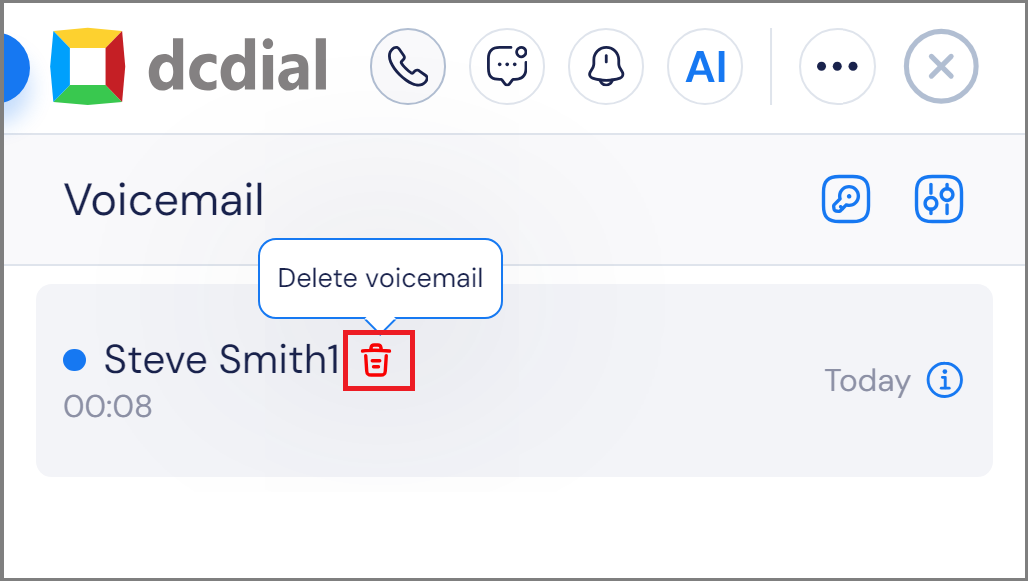
To play a voicemail message, select the message from the list. To delete a voicemail message, click on the delete icon next to the message you want to remove.